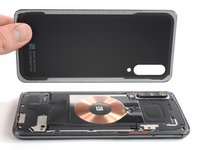
Giriş
Use this guide to replace a worn-out or dead battery in your Xiaomi Mi 9.
If your battery is swollen, take appropriate precautions. For your safety, discharge your battery below 25% before disassembling your phone. This reduces the risk of a dangerous thermal event if the battery is accidentally damaged during the repair.
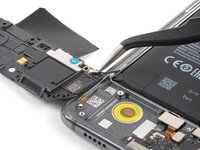
Although it’s possible to remove the battery without removing the loudspeaker unit we recommend doing so to make the removal procedure easier.
You’ll need replacement adhesive to reattach components when reassembling the device.
Neye ihtiyacın var
-
-
Before you begin, switch off your phone.
-
Apply a heated iOpener to the rear glass to loosen the adhesive beneath the edges. Apply the iOpener for at least two minutes.
-
-
-
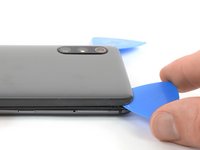
Secure a suction handle to the lower edge of the rear glass, as close to the edge as possible.
-
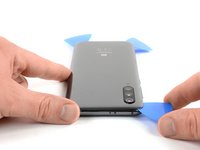
Lift the rear glass with the suction handle to create a gap between the glass and the frame.
-
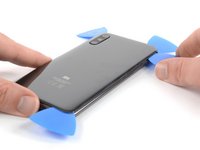
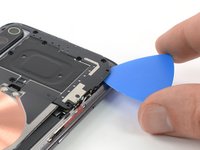
Insert an opening pick into the gap.
-
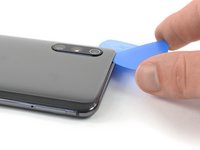
Slide the opening pick to the bottom right corner of the phone.
-
-
-
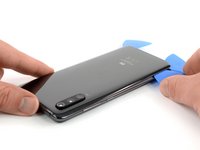
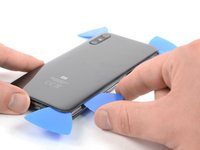
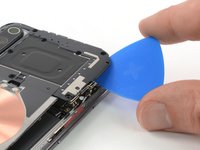
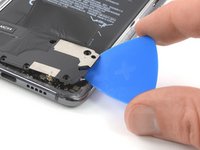
Insert a fourth opening pick under the top left corner of the rear glass.
-
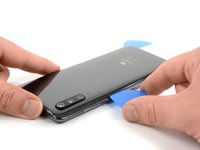
Slide the opening pick along the top to cut the adhesive.
-
Leave the opening pick in the top right corner to prevent the adhesive from resealing.
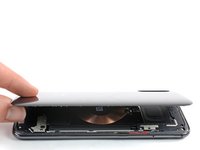
Be very careful at this point not to raise the cover too much, at the slightest bending the glass shatters. It just happened to me :(
-
-
-
-
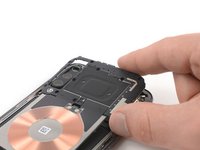
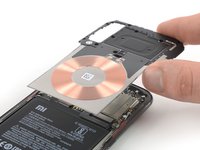
Remove the ten Phillips #00 screws (3 mm length) that secure the motherboard cover.
Note, the Explorer/Transparent edition does not use phillips #00 screws.
It uses 0.8mm star screws(P2 Pentalobe in the iFixIt store)
Thanks for mentioning Jason!
-
-
-
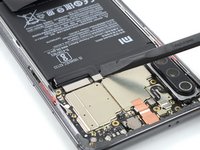
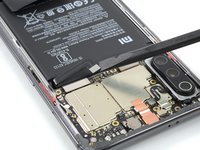
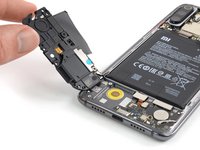
Remove the seven Phillips #00 screws securing the loudspeaker unit:
-
Four silver 3.2 mm long screws
-
Two yellowish 3.8 mm long screws
-
One black 2.8 mm long screw
I found that there was no need to remove the loudspeaker assembly at all. The battery adhesive was easy to pull out (by rolling it up on a screwdriver) without needing to remove the loudspeaker.
I can confirm this. Worked like a charm without taking the loudspeaker assembly out.
Ich stellte fest, dass es überhaupt nicht nötig war, die Lautsprecherbaugruppe zu entfernen. Der Batteriekleber ließ sich leicht herausziehen (durch Aufrollen mit einem Schraubenzieher), ohne dass der Lautsprecher entfernt werden musste.
Gegenteilig sogar! Das Antennenkabel löste sich und hat dann außerordentlich viel Zeit gekostet den Stecker zu reparieren!! -
-
Bu adımda kullanılan alet:Tweezers$4.99
-
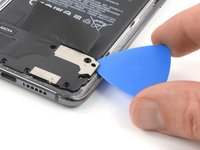
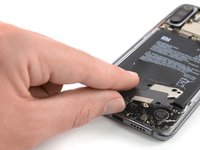
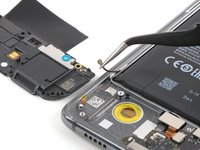
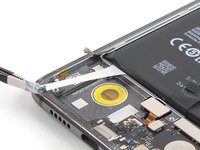
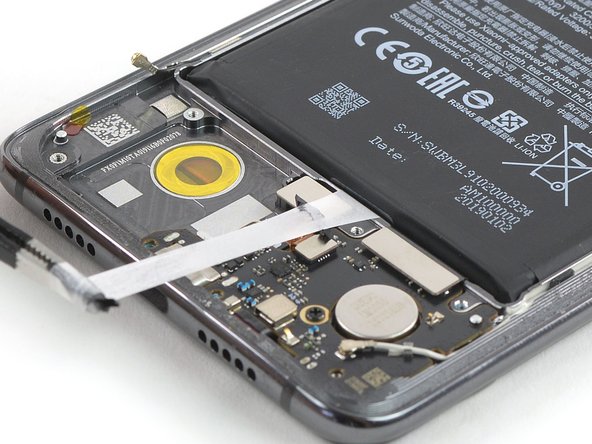
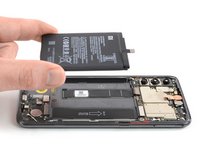
Use a pair of tweezers to peel the black ends of the adhesive tabs off the battery.
-
-
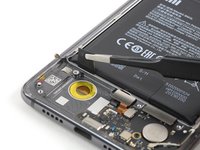
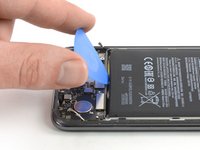
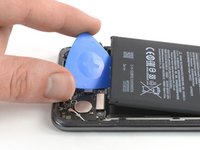
Bu adımda kullanılan alet:Plastic Cards$2.99
-
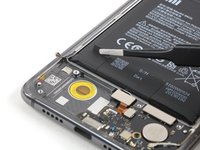
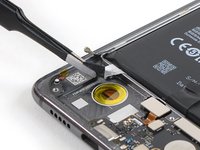
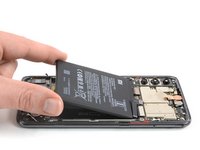
Use a pair of tweezers to pull out the left adhesive tab from underneath the battery.
Be careful with this one. My fully charged battery catch fire.
I tried to forcefully remove the battery after ripping the adhesive tab. I was bending it a lot.
It started to burn and smoke a lot. I didnt get any burn wounds but it left some nasty marks on the floor even though I throw it out on the balcony after 1 second.
-


If possible, turn on your phone and test your repair before installing new adhesive and resealing the phone.
Secure the new battery with pre-cut adhesive or double-sided adhesive tape. In order to position it correctly, apply the new adhesive into the phone at the places where the old adhesive was located, not directly onto the battery. Press the new battery firmly into place.
For optimal performance, calibrate your newly installed battery: Charge it to 100%, and keep charging it for at least two more hours. Then, use it until it shuts off due to low battery. Finally, charge it uninterrupted to 100%
To reassemble your device, follow these instructions in reverse order.
Take your e-waste to an R2 or e-Stewards certified recycler.
Repair didn’t go as planned? Check out our Answers community for troubleshooting help.
İptal et: Bu kılavuzu tamamlamadım.
52 farklı kişi bu kılavuzu tamamladı.


15Kılavuz Yorumları
Is it possible to swap mi 9 battery with mi 9 pro battery?
Hi Marcel,
the Antenna connector is a COAX connector. You can find a little more information here.
I’ve changed the battery but device has not started even I tried to charge for 1-2 hours..( charger, USB-C cable checked). Btw, the symptoms was like the device started to turn off on around 50% of battery life. And charged too fast in about 10-15 minutes by the original fast charger. What could happen?
Im also experiencing this issue. How can I fix this?
Same. Did ya'll figure it out? Going to buy a new battery to see if that helps.
You must calibrate your new battery as above instructions.
I change my battery but it seams that the quick charge has gone from 65% to 100%. Why?
You need to calibrate the new battery, the android software still thinks it has the old battery installed.
In the section what do you need. Gluestrips for the battery should be included
What width glue strips do I need?
I just did it with 1mm strips, put two of them on each sides to be secured but I believe 2mm would have been more appropriate.
Armand -