Giriş
Follow this guide to replace the hard drive for your iMac. Replacing the hard drive requires separating the display and moving the left speaker.
This guide also includes steps to upgrade your iMac's hard drive with a SSD. It describes how to install the SSD's temperature sensor so that the Mac's fans will operate at the correct speed.
Before beginning any work on your iMac: Unplug the computer and press and hold the power button for ten seconds to discharge the power supply's capacitors.
Be very careful not to touch the capacitor leads or any exposed solder joints on the back of the power supply.
Neye ihtiyacın var
-
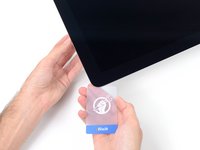
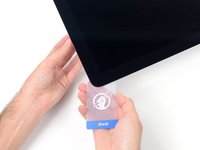
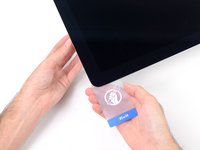
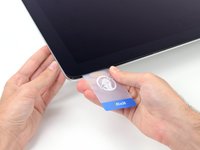
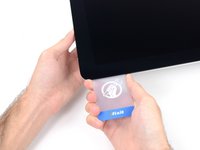
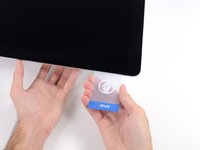
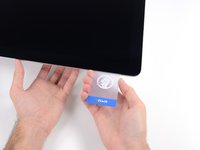
Bu adımda kullanılan alet:iMac Intel 27" Cardboard Service Wedge$4.99
-
With the hinge free to move, the iMac will be unbalanced and hard to work on. Repairs can be completed with the iMac laying down, but are faster and easier with an iMac service wedge.
-
If you are using the iFixit cardboard service wedge, follow these assembly directions to put it together.
-
-
-
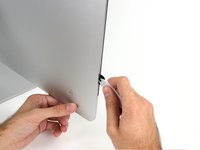
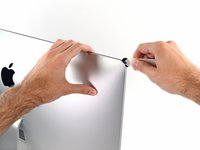
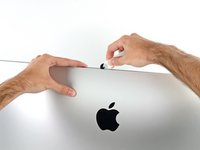
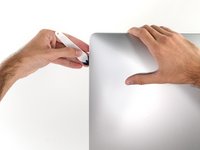
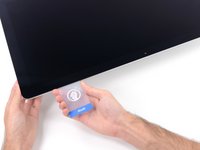
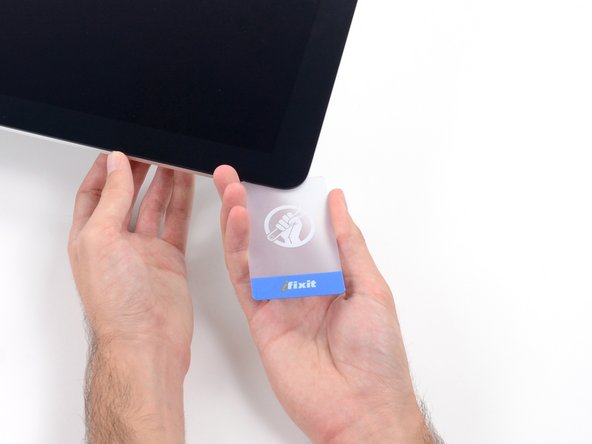
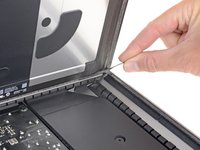
Starting on the left of the display, near the power button, insert the iMac Opening Tool into the gap between the glass panel and the rear case.
-
-
-
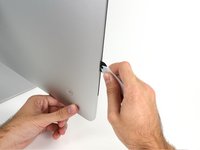
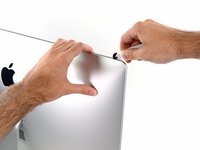
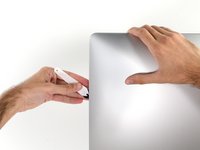
Use the tool like a pizza cutter—roll it along through the gap, and it will cut the foam adhesive through the center.
-
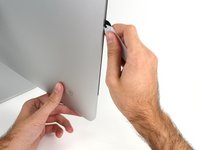
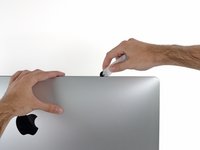
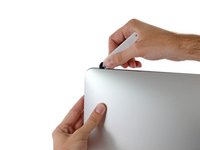
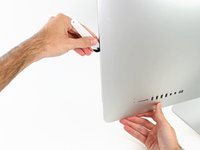
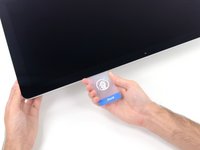
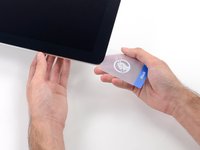
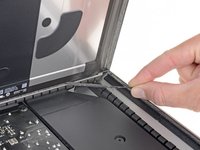
Run the tool up along the left side of the display.
-
-
-
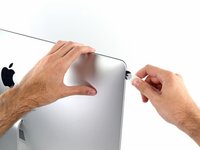
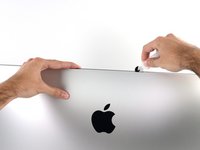
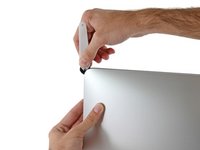
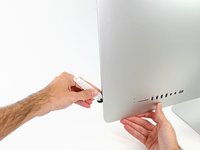
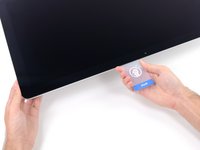
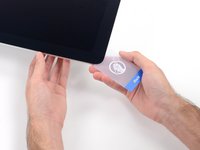
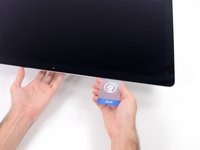
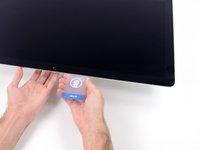
Continue wheeling the tool up around the top left corner.
-
-
-
-
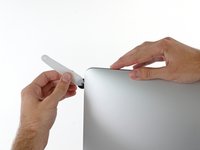
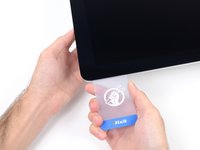
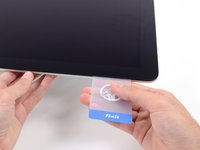
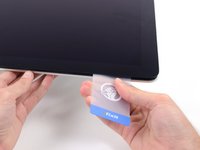
With the cards inserted as shown near the corners, gently twist the cards to increase the gap between display and case.
-
If there are any sections that seem to stick and won't separate, stop twisting and use one of the cards to cut the adhesive in the problem area.
-
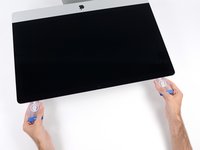
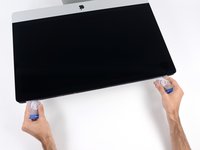
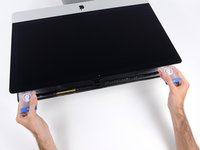
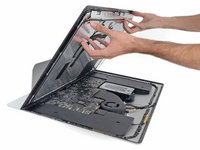
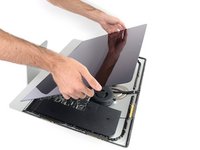
Begin to lift the top of the display up from the frame.
-
-
-
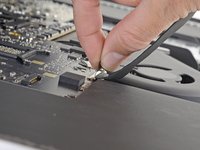
While holding the display up with one hand, use the other to unplug the display power cable.
-
-
-
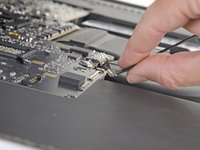
Grasp the small tab at the end of one of the bottom edge display adhesive strips and pull the adhesive toward the top of the iMac to remove it.
-
Repeat this step with the other adhesive strip and remove it.
-
-
-
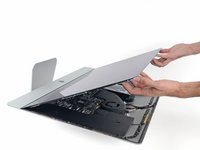
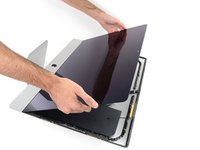
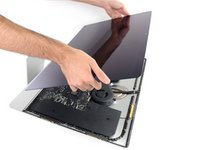
Lift the display up from the frame and remove it from the iMac. Lay the display face down on a flat, soft surface.
-
It may be necessary to slowly lift from one side, to peel against the remaining adhesive.
-
-
-
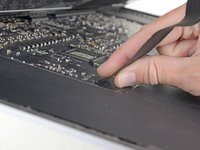
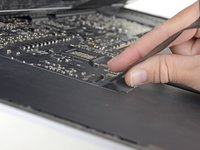
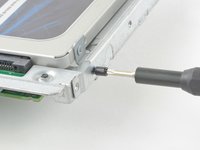
Use a T10 driver to remove the two 10 mm screws securing the left speaker.
-
-
-
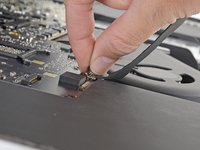
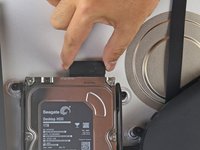
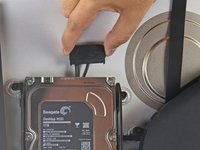
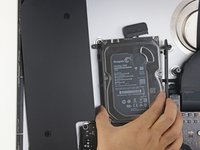
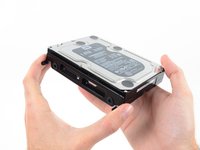
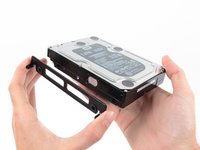
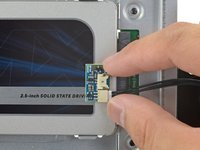
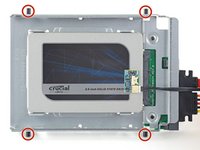
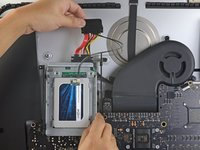
Remove the four 8.1 mm T8 screw posts from the hard drive, and transfer them to the replacement drive enclosure.
-
-
-
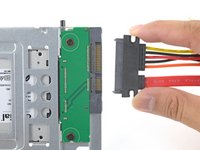
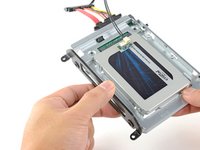
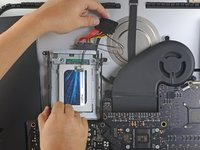
Line up the SSD connectors with the metal enclosure's sockets.
-
Press the drive against the enclosure sockets until the SSD is firmly seated.
-
-
-
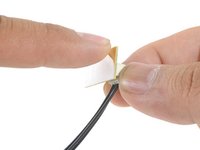
Peel the white liner off the back of the small temperature sensor board in order to expose the adhesive.
-
Adhere the temperature sensor board to an exposed, metal surface of the SSD, close to the SATA connector.
-
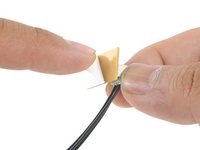
Fold the excess temperature sensor wires so that they are out of the way while you install the enclosure.
-


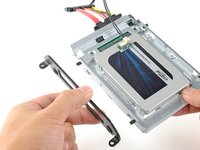


Compare your new replacement part to the original part—you may need to transfer remaining components or remove adhesive backings from the new part before installing.
To reassemble your device, follow the above steps in reverse order.
Take your e-waste to an R2 or e-Stewards certified recycler.
Repair didn’t go as planned? Check out our Answers community for troubleshooting help.
İptal et: Bu kılavuzu tamamlamadım.
38 farklı kişi bu kılavuzu tamamladı.

15Kılavuz Yorumları
Hola.
¿Es realmente necesario colocarle el sensor de temperatura al iMac A2115 de 2019?
Gracias. Saludos
A great and very carefully and detailed instruction. But what about glueing the glass pane back to the iMac? How does that work?
Thanks for any hint!
Hi Hans,
The instructions on how to glue the display back is embedded in step 23. Here is a quick link to the instructions!
These are model specific, look through the guides for your model. My 2019 27” Intel was: iMac Intel 27" Retina 5K Display 2019 Adhesive Strips Replacement