4. Installing Klipper on SKR3 EZ
Giriş
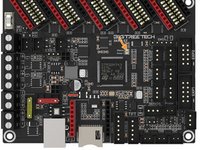
1. adıma gitI wanted to try and keep everything as neat as possible while reusing as many of the original components as possible. I wanted the RPI to remain hidden. I came up with a design that uses the existing are the motherboard was installed in but also eliminates the tool drawer. Believe it or not this was a hard choice because as simple as the tool drawer was I really liked that they incorporated it.
I recommend you do not install the SKR3 EZ and RPI into the printer until the firmware flashing is complete.
-
-
Download and extract the latest version of Mainsail from their Github
-
Open the Raspberry Pi Imager
-
Select Operating System > Use custom > Select the Mainsail OS you downloaded.
-
Select Storage > Select your SD/USB.
-
Bring up the Advanced Settings menu by pressing CTRL+SHIFT+X
-
Here you can setup your WiFi, locale, enable SSH and numerous other options.
-
Write > Yes to confirm
-
After imaging is complete the SD/USB is automatically ejected. Insert it into the RPI.
-
-
-
Connect your Raspberry Pi to the SKR3 EZ by USB or UART cable. I used a UART cable so that is what I will be showing but I'll try to explain how to setup USB as well.
-
UART wiring
-
PA10 > GPIO15
-
PA9 > GPIO14
-
GND > GND
-
For USB ONLY connect a USB cable from the SKR3 EZ to the RPI and place a jumper on VUSB
-
Make sure the double throw switch is in the up position
-
Connect the RPI to it's 5v power supply and power it on. Do not power on the the 24v PSU
Connect the RPI to it's 5v power supply and power it on. Do not power on the the 24v PSU
when do you power the machine to power the main poard GND GP14,GP15 are connected
-
-
-
Verify the RPI is connected to your network. Open command prompt and run
-
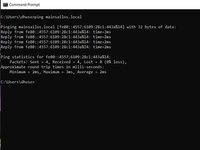
ping mainsailos.local
-
You should see it return successful pings
-
Open a web browser and go to
-
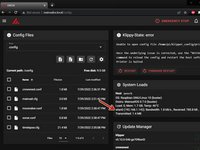
mainsail.local
-
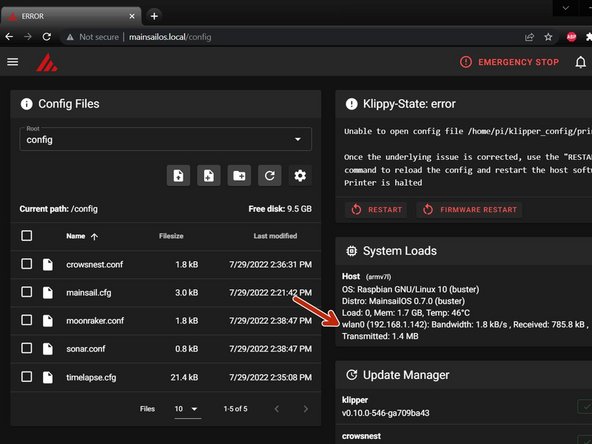
On the machine tab you can see the IP address of your RPI next to "wlan0"
-
I use Remote Terminal, but using your favorite SSH client login to your RPI with the default credentials
-
-
-
SSH into your pi and run
-
cd ~/klipper
-
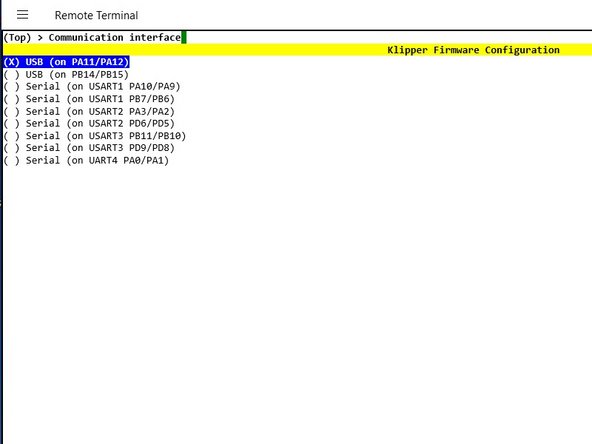
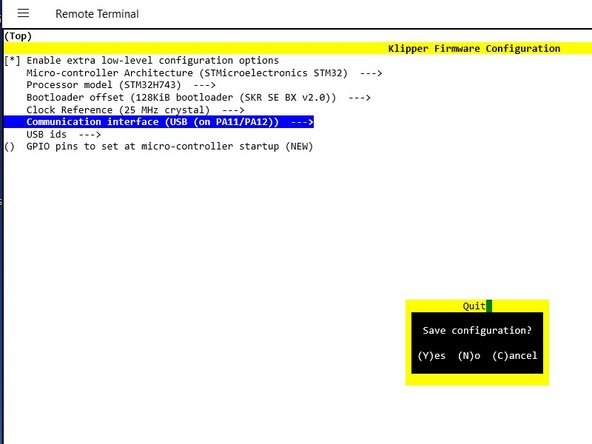
make menuconfig
-
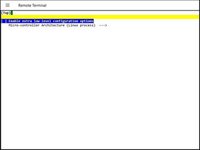
Set the following parameters
-
Enable extra low-level configuration options
-
Micro-controller Architecture (STMicroelectronics STM32) --->
-
Processor model (STM32H743) --->
-
Bootloader offset (128KiB bootloader (SKR SE BX v2.0)) --->
-
-
-
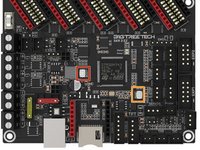
Press and hold the BOOT and RESET buttons.
-
Release the RESET button first, than release BOOT. This will put the board in DFU mode.
-
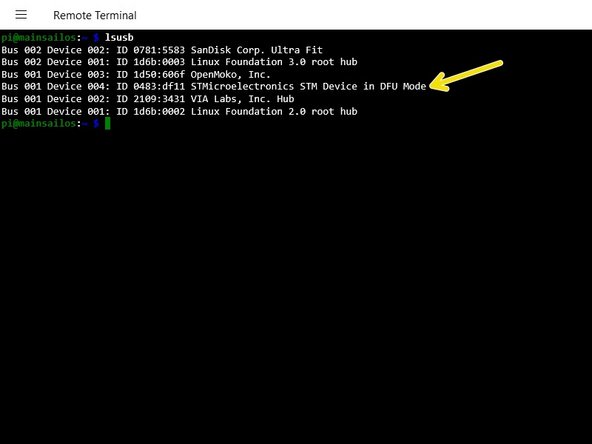
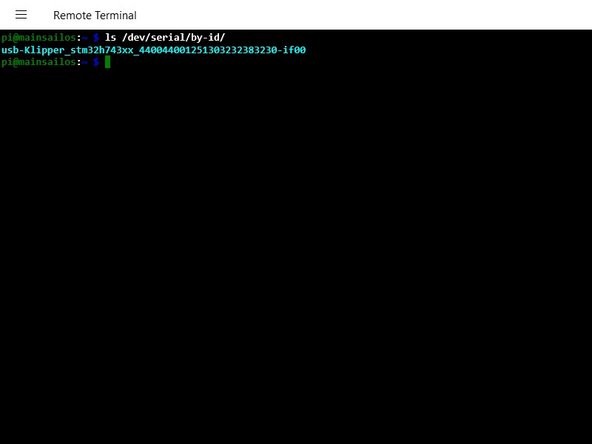
Get the boards ID number by running
-
lsusb
-
-
-
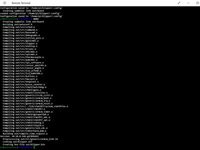
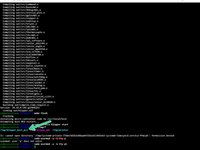
Compile the firmware by running
-
Make
-
The SKR3 doesn't have a bootloader so you cannot flash it from the RPI. You'll need to use the SD method.
-
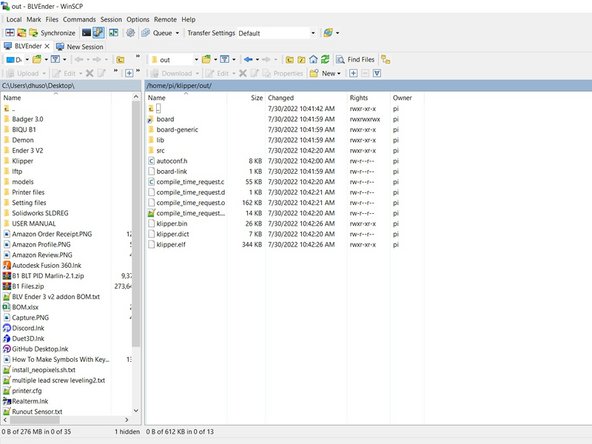
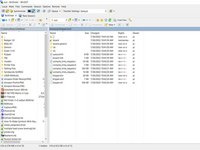
Open WINSCP
-
Navigate to /klipper/out/
-
Copy klipper.bin to your PC and rename it to firmware.bin
-
Copy firmware.bin to a SD. I used a 128mb one I had laying around
-
Holding the RESET button on the SKR3 EZ, insert the SD card into the SKR3 EZ.
-
İptal et: Bu kılavuzu tamamlamadım.
3 farklı kişi bu kılavuzu tamamladı.
5Kılavuz Yorumları
is it different for a btt pi4b with cb1 emmc 32g
Thank you. I have it running with a BTT Pi (power 24V) and using USB with the SKE3 EZ.
Step 8 (Get the boards ID number by running) is only needed as check if things work.
/dev/serial was not created due to a faulty Debian script but can be solved by updating and upgrading "sudo apt -y update && sudo apt -y upgrade".


