Ana içeriğe geç
Onarım Topluluğuna Katılın - Hesap Oluşturun

Google Pixel 4 Rear Camera Module Replacement

Neye ihtiyacın var

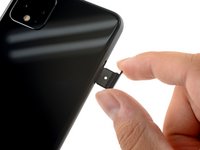
    1. Google Pixel 4 Rear Camera Module Replacement, Remove the SIM card tray: adım 1, 3 resimden 1. Google Pixel 4 Rear Camera Module Replacement, Remove the SIM card tray: adım 1, 3 resimden 2. Google Pixel 4 Rear Camera Module Replacement, Remove the SIM card tray: adım 1, 3 resimden 3.
      • Insert a SIM eject tool, bit, or a straightened paper clip into the small hole on the SIM card tray on the left edge of the phone.

      • Press firmly to eject the tray.

      • Remove the SIM card tray.

      FixBot'a Sor

      Yorum Ekle

    1. Google Pixel 4 Rear Camera Module Replacement, Heat the back panel glass: adım 2, 1 resimden 1.
      • Prepare an iOpener and apply it to the bottom edge of the back panel for one minute.

      • A hair dryer, heat gun, or hot plate may also be used, but be careful not to overheat the phone—the display and internal battery are both susceptible to heat damage.

      FixBot'a Sor

      Yorum Ekle

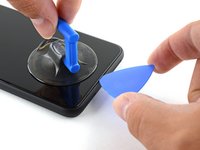
    2. Google Pixel 4 Rear Camera Module Replacement, Apply a suction cup: adım 3, 2 resimden 1. Google Pixel 4 Rear Camera Module Replacement, Apply a suction cup: adım 3, 2 resimden 2.
      • Apply a suction cup to the heated edge of the back panel by pressing down on it to create suction, as close to the edge as possible.

      • If your back glass is badly cracked, covering it with a layer of clear packing tape may allow the suction cup to adhere. Alternatively, very strong tape may be used instead of the suction cup. If all else fails, you can superglue the suction cup to the broken panel.

      FixBot'a Sor

      Yorum Ekle

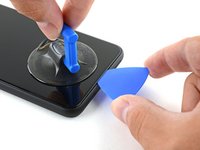
    3. Google Pixel 4 Rear Camera Module Replacement, Insert an opening pick: adım 4, 2 resimden 1. Google Pixel 4 Rear Camera Module Replacement, Insert an opening pick: adım 4, 2 resimden 2.
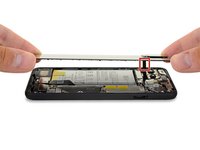
      • Pull up on the suction cup with strong, steady force to create a gap between the back panel and the frame.

      • Depending on the age of your phone, this may be difficult. If you are having trouble, apply more heat to the edge and try again.

      • Insert the point of an opening pick into the gap.

      FixBot'a Sor

      Yorum Ekle

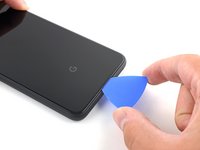
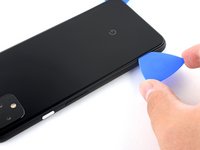
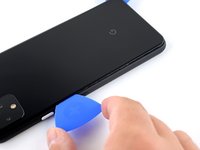
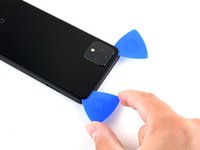
    4. Google Pixel 4 Rear Camera Module Replacement, Begin to slice the adhesive: adım 5, 3 resimden 1. Google Pixel 4 Rear Camera Module Replacement, Begin to slice the adhesive: adım 5, 3 resimden 2. Google Pixel 4 Rear Camera Module Replacement, Begin to slice the adhesive: adım 5, 3 resimden 3.
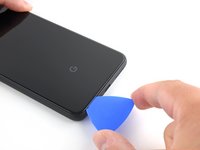
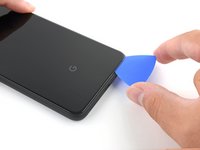
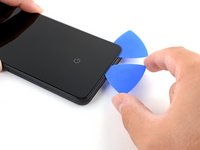
      • Slide the opening pick across the bottom towards the left corner to slice the adhesive.

      • With the pick still inserted, slide it from the bottom left corner over to the bottom right corner to completely slice the bottom side adhesive.

      • Leave the pick inserted in the bottom right corner to prevent the adhesive from re-sealing.

      FixBot'a Sor

      Yorum Ekle

    5. Google Pixel 4 Rear Camera Module Replacement, Slice the lefthand-side adhesive: adım 6, 1 resimden 1.
      • Prepare an iOpener and apply it on the left edge of the phone for one minute.

      FixBot'a Sor

      Yorum Ekle

    6. Google Pixel 4 Rear Camera Module Replacement: adım 7, 2 resimden 1. Google Pixel 4 Rear Camera Module Replacement: adım 7, 2 resimden 2.
      • Insert a second opening pick underneath the back panel directly over the charge port.

      • Slide the opening pick to the bottom left corner of the phone.

      FixBot'a Sor

      Yorum Ekle

    7. Google Pixel 4 Rear Camera Module Replacement: adım 8, 2 resimden 1. Google Pixel 4 Rear Camera Module Replacement: adım 8, 2 resimden 2.
      • Slide the opening pick around the bottom left corner and across the left side of the phone to slice the adhesive.

      • The adhesive can be very gummy. Push the pick in and out in a sawing motion to help with slicing.

      • Stop when you reach the top left corner, near the camera, and leave the pick inserted.

      FixBot'a Sor

      Yorum Ekle

    8. Google Pixel 4 Rear Camera Module Replacement, Slice righthand-side adhesive: adım 9, 1 resimden 1.
      • Prepare an iOpener and apply it on the right edge of the phone for one minute.

      FixBot'a Sor

      Yorum Ekle

    9. Google Pixel 4 Rear Camera Module Replacement: adım 10, 3 resimden 1. Google Pixel 4 Rear Camera Module Replacement: adım 10, 3 resimden 2. Google Pixel 4 Rear Camera Module Replacement: adım 10, 3 resimden 3.
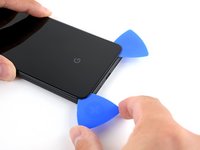
      • With the first two opening picks still in place, insert a third pick on the lower part of the righthand side.

      • Slide the opening pick up towards the top of the phone, slicing the right side's adhesive.

      • Stop when you reach the top right corner, and leave the pick inserted.

      FixBot'a Sor

      Yorum Ekle

    10. Google Pixel 4 Rear Camera Module Replacement, Slice the top-side adhesive: adım 11, 2 resimden 1. Google Pixel 4 Rear Camera Module Replacement, Slice the top-side adhesive: adım 11, 2 resimden 2.
      • Slide the third opening pick around the top right corner and across the top side of the phone, slicing the final strip of adhesive.

      FixBot'a Sor

      Yorum Ekle

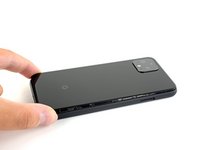
    11. Google Pixel 4 Rear Camera Module Replacement, Lift up the back panel: adım 12, 3 resimden 1. Google Pixel 4 Rear Camera Module Replacement, Lift up the back panel: adım 12, 3 resimden 2. Google Pixel 4 Rear Camera Module Replacement, Lift up the back panel: adım 12, 3 resimden 3.
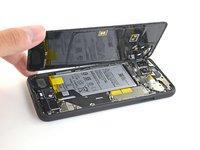
      • Once you have sliced around the perimeter of the phone, carefully lift the right edge of the back cover, opening it like a book.

      • Do not try to pull the panel all the way off yet, as it is still connected to the phone.

      FixBot'a Sor

      Yorum Ekle

    12. Google Pixel 4 Rear Camera Module Replacement: adım 13, 2 resimden 1. Google Pixel 4 Rear Camera Module Replacement: adım 13, 2 resimden 2.
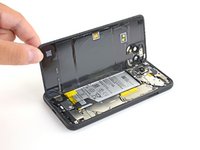
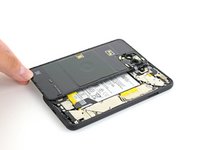
      • Continue swinging open the back panel until you can rest it on the left edge the phone, being careful not to put any stress on the attached ribbon cable.

      • During reassembly, this is a good point to power on your phone and test all functions before re-sealing the back panel. Be sure to power your phone back down completely before you continue working.

      FixBot'a Sor

      Yorum Ekle

    13. Google Pixel 4 Rear Camera Module Replacement, Disconnect the battery: adım 14, 1 resimden 1.
      Bu adımda kullanılan alet:
      Magnetic Project Mat
      $19.95
      • Remove the five T3 Torx screws securing the battery connector shield:

      • Four 4.0 mm screws

      • One 2.1 mm screw

      • Throughout this repair, keep track of each screw and make sure it goes back exactly where it came from.

      FixBot'a Sor

      Yorum Ekle

    14. Google Pixel 4 Rear Camera Module Replacement: adım 15, 2 resimden 1. Google Pixel 4 Rear Camera Module Replacement: adım 15, 2 resimden 2.
      Bu adımda kullanılan alet:
      Tweezers
      $4.99
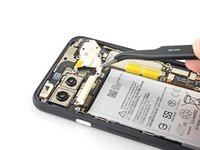
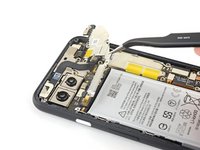
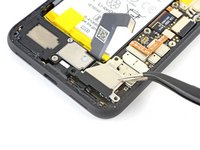
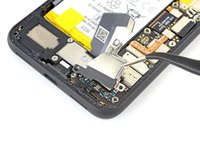
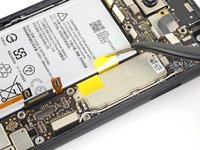
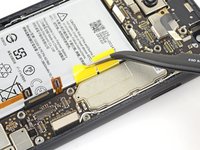
      • Use a pair of tweezers to remove the battery connector shield.

      FixBot'a Sor

      Yorum Ekle

    15. Google Pixel 4 Rear Camera Module Replacement: adım 16, 2 resimden 1. Google Pixel 4 Rear Camera Module Replacement: adım 16, 2 resimden 2.
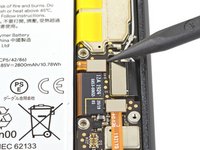
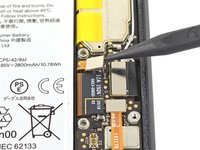
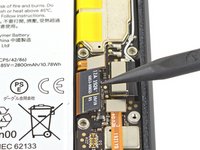
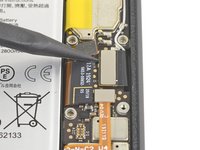
      • Whenever you use the spudger near the battery, be very careful not to puncture the battery.

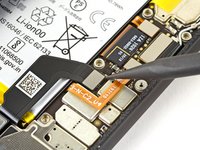
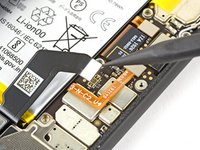
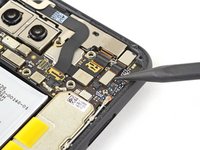
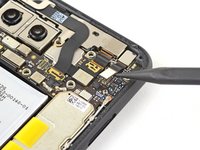
      • Using the pointed end of a spudger, pry the battery connector straight up from the motherboard to disconnect the battery.

      • To re-attach press connectors like this one, carefully align and press down on one side until it clicks into place, then repeat on the other side. Do not press down on the middle. If the connector is misaligned, the pins can bend, causing permanent damage.

      FixBot'a Sor

      Yorum Ekle

    16. Google Pixel 4 Rear Camera Module Replacement: adım 17, 2 resimden 1. Google Pixel 4 Rear Camera Module Replacement: adım 17, 2 resimden 2.
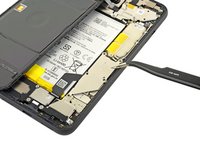
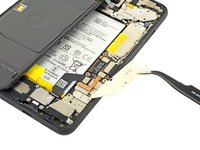
      • Using the flat end of a spudger, gently fold the battery cable over so it doesn't accidentally make contact during the rest of your repairs.

      FixBot'a Sor

      Yorum Ekle

    17. Google Pixel 4 Rear Camera Module Replacement, Disconnect the back panel connector: adım 18, 1 resimden 1.
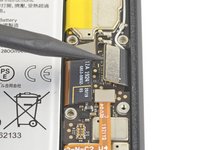
      • Use a T3 Torx driver to remove the two 4 mm screws securing the back panel connector cover.

      FixBot'a Sor

      Yorum Ekle

    18. Google Pixel 4 Rear Camera Module Replacement: adım 19, 2 resimden 1. Google Pixel 4 Rear Camera Module Replacement: adım 19, 2 resimden 2.
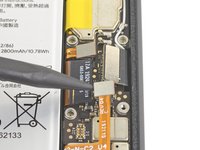
      • Use a pair of tweezers to remove the back panel connector cover.

      FixBot'a Sor

      Yorum Ekle

    19. Google Pixel 4 Rear Camera Module Replacement: adım 20, 2 resimden 1. Google Pixel 4 Rear Camera Module Replacement: adım 20, 2 resimden 2.
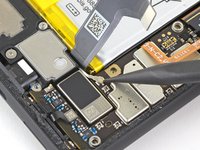
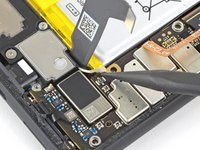
      • Using the pointed end of a spudger, pry up and disconnect the back panel connector.

      FixBot'a Sor

      Yorum Ekle

    20. Google Pixel 4 Rear Camera Module Replacement, Remove the back panel: adım 21, 1 resimden 1.
      • Remove the back panel.

      • During reassembly, follow this guide to install custom-cut adhesives for your device.

      • Follow this guide if you are using a pre-cut adhesive card.

      FixBot'a Sor

      Yorum Ekle

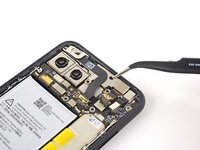
    1. Google Pixel 4 Rear Camera Module Replacement, Front Camera and Sensor Assembly: adım 22, 1 resimden 1.
      • Use a T3 Torx driver to remove the four 4 mm screws securing the camera connector cover.

      FixBot'a Sor

      Yorum Ekle

    2. Google Pixel 4 Rear Camera Module Replacement: adım 23, 3 resimden 1. Google Pixel 4 Rear Camera Module Replacement: adım 23, 3 resimden 2. Google Pixel 4 Rear Camera Module Replacement: adım 23, 3 resimden 3.
      Bu adımda kullanılan alet:
      Tweezers
      $4.99
      • Using a pair of tweezers, tilt the camera cover up and slide it out of the retaining slot on the upper right corner of the phone to remove.

      FixBot'a Sor

      Yorum Ekle

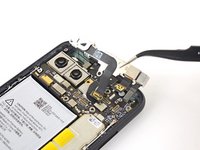
    3. Google Pixel 4 Rear Camera Module Replacement, Disconnect the camera and sensor connectors: adım 24, 3 resimden 1. Google Pixel 4 Rear Camera Module Replacement, Disconnect the camera and sensor connectors: adım 24, 3 resimden 2. Google Pixel 4 Rear Camera Module Replacement, Disconnect the camera and sensor connectors: adım 24, 3 resimden 3.
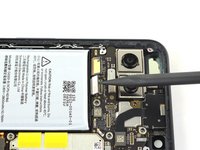
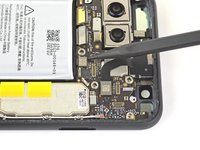
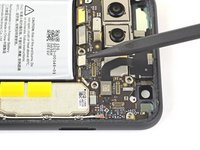
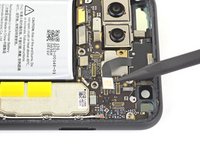
      • Using the pointed end of a spudger, pry the camera and sensor connectors straight up from the motherboard.

      FixBot'a Sor

      Yorum Ekle

    4. Google Pixel 4 Rear Camera Module Replacement: adım 25, 2 resimden 1. Google Pixel 4 Rear Camera Module Replacement: adım 25, 2 resimden 2.
      • Disconnect the laser module connector.

      FixBot'a Sor

      Yorum Ekle

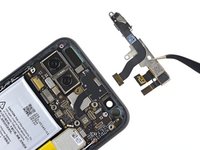
    5. Google Pixel 4 Rear Camera Module Replacement, Remove the front camera and sensor assembly: adım 26, 1 resimden 1.
      • Use a T3 Torx driver to remove the two 2.4 mm screws securing the front camera and sensor assembly.

      FixBot'a Sor

      Yorum Ekle

    6. Google Pixel 4 Rear Camera Module Replacement: adım 27, 3 resimden 1. Google Pixel 4 Rear Camera Module Replacement: adım 27, 3 resimden 2. Google Pixel 4 Rear Camera Module Replacement: adım 27, 3 resimden 3.
      • Use a pair of tweezers to remove the front camera and sensor assembly.

      FixBot'a Sor

      Yorum Ekle

    1. Google Pixel 4 Rear Camera Module Replacement, Motherboard: adım 28, 1 resimden 1.
      • Remove the two T3 Torx screws securing the vibration motor shield:

      • One 4.2 mm screw

      • One 4.4 mm shouldered screw

      FixBot'a Sor

      Yorum Ekle

    2. Google Pixel 4 Rear Camera Module Replacement: adım 29, 2 resimden 1. Google Pixel 4 Rear Camera Module Replacement: adım 29, 2 resimden 2.
      Bu adımda kullanılan alet:
      Tweezers
      $4.99
      • Use a pair of tweezers to remove the vibration motor shield.

      FixBot'a Sor

      Yorum Ekle

    3. Google Pixel 4 Rear Camera Module Replacement, Disconnect the motherboard press connectors: adım 30, 3 resimden 1. Google Pixel 4 Rear Camera Module Replacement, Disconnect the motherboard press connectors: adım 30, 3 resimden 2. Google Pixel 4 Rear Camera Module Replacement, Disconnect the motherboard press connectors: adım 30, 3 resimden 3.
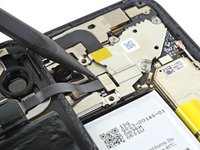
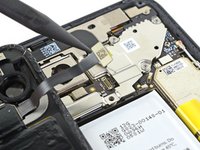
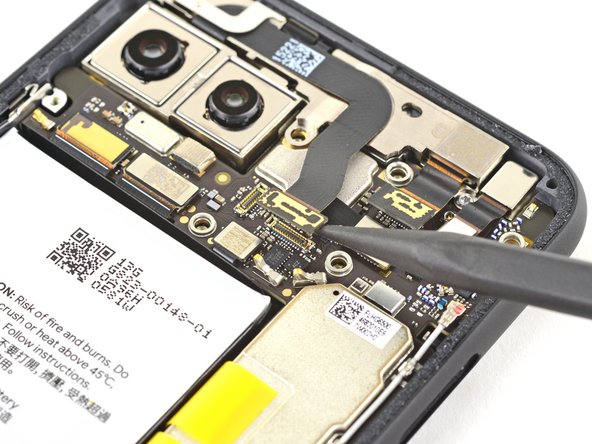
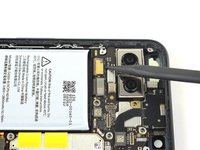
      • Use the pointed end of a spudger to disconnect the two rear-facing camera connectors from the motherboard.

      FixBot'a Sor

      Yorum Ekle

    4. Google Pixel 4 Rear Camera Module Replacement: adım 31, 3 resimden 1. Google Pixel 4 Rear Camera Module Replacement: adım 31, 3 resimden 2. Google Pixel 4 Rear Camera Module Replacement: adım 31, 3 resimden 3.
      • Disconnect the side buttons connector from the motherboard.

      • Disconnect the earpiece speaker connector from the motherboard.

      FixBot'a Sor

      Yorum Ekle

    5. Google Pixel 4 Rear Camera Module Replacement: adım 32, 3 resimden 1. Google Pixel 4 Rear Camera Module Replacement: adım 32, 3 resimden 2. Google Pixel 4 Rear Camera Module Replacement: adım 32, 3 resimden 3.
      • Disconnect the left grip sensor connector from the motherboard.

      • Disconnect the charge port connector from the motherboard.

      FixBot'a Sor

      Yorum Ekle

    6. Google Pixel 4 Rear Camera Module Replacement: adım 33, 3 resimden 1. Google Pixel 4 Rear Camera Module Replacement: adım 33, 3 resimden 2. Google Pixel 4 Rear Camera Module Replacement: adım 33, 3 resimden 3.
      • Disconnect the display connector from the motherboard.

      • Disconnect the right grip sensor connector from the motherboard.

      FixBot'a Sor

      Yorum Ekle

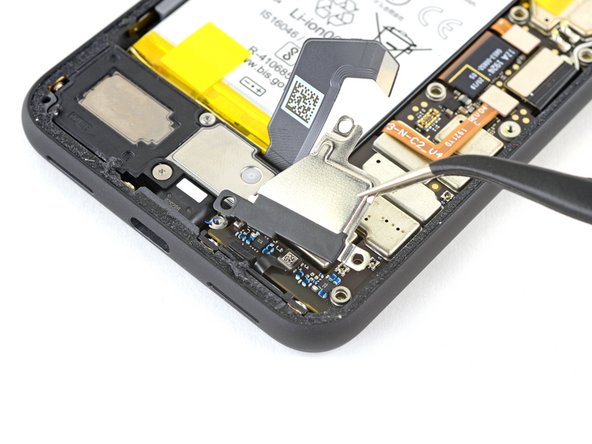
    7. Google Pixel 4 Rear Camera Module Replacement, Disconnect the antennas: adım 34, 2 resimden 1. Google Pixel 4 Rear Camera Module Replacement, Disconnect the antennas: adım 34, 2 resimden 2.
      • Use a pair of tweezers to grip the metal clip and pull the connector straight up off of the motherboard

      • You can also a spudger and pry up gently to unclip the bottom antenna connector from the motherboard.

      FixBot'a Sor

      Yorum Ekle

    8. Google Pixel 4 Rear Camera Module Replacement: adım 35, 2 resimden 1. Google Pixel 4 Rear Camera Module Replacement: adım 35, 2 resimden 2.
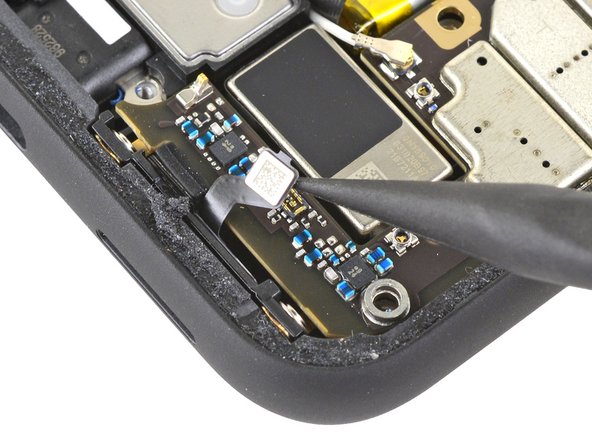
      • Disconnect the bottom microphone connector from the motherboard.

      FixBot'a Sor

      Yorum Ekle

    9. Google Pixel 4 Rear Camera Module Replacement: adım 36, 3 resimden 1. Google Pixel 4 Rear Camera Module Replacement: adım 36, 3 resimden 2. Google Pixel 4 Rear Camera Module Replacement: adım 36, 3 resimden 3.
      • Gently pry back—but don't remove—the two battery adhesive pull tabs lightly adhered to the motherboard.

      FixBot'a Sor

      Yorum Ekle

    10. Google Pixel 4 Rear Camera Module Replacement, Remove the motherboard: adım 37, 2 resimden 1. Google Pixel 4 Rear Camera Module Replacement, Remove the motherboard: adım 37, 2 resimden 2.
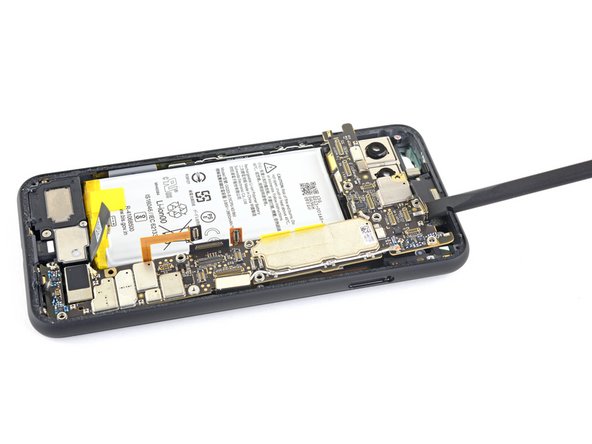
      • Using a spudger, pivot the top end of the motherboard up and out of the phone's frame.

      FixBot'a Sor

      Yorum Ekle

    11. Google Pixel 4 Rear Camera Module Replacement: adım 38, 3 resimden 1. Google Pixel 4 Rear Camera Module Replacement: adım 38, 3 resimden 2. Google Pixel 4 Rear Camera Module Replacement: adım 38, 3 resimden 3.
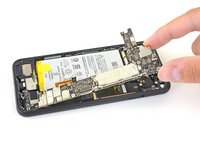
      • Slowly lift out the motherboard, being careful not to snag any ribbon cable connectors.

      • The rear-facing camera module connectors loop around the motherboard, and the camera module is not secured to the phone, so it may lift out with the motherboard during this step.

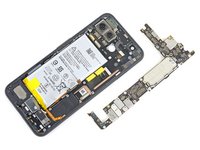
      • Completely remove the motherboard.

      • When removing the motherboard, the small rubber bottom microphone cover may fall off. Don't lose it.

      • When reinstalling the motherboard, check that no ribbon cable connectors are caught underneath.

      FixBot'a Sor

      Yorum Ekle

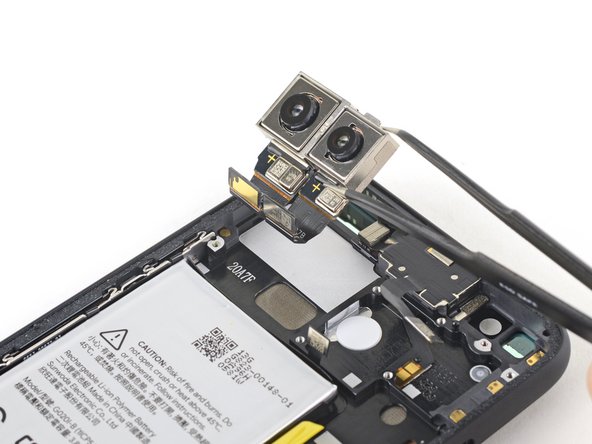
    1. Google Pixel 4 Rear Camera Module Replacement, Remove the rear cameras: adım 39, 2 resimden 1. Google Pixel 4 Rear Camera Module Replacement, Remove the rear cameras: adım 39, 2 resimden 2.
      Bu adımda kullanılan alet:
      Tweezers
      $4.99
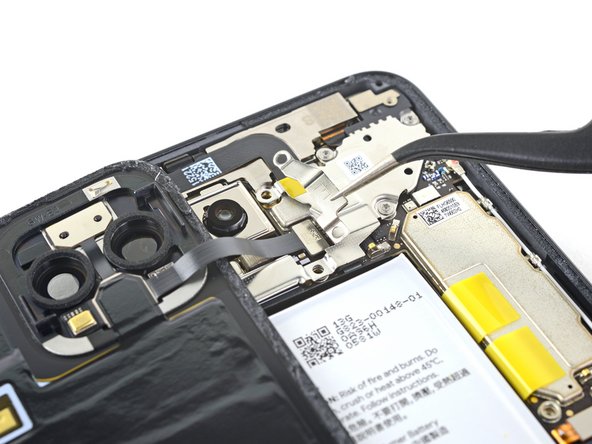
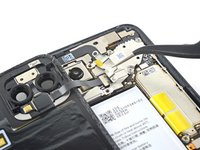
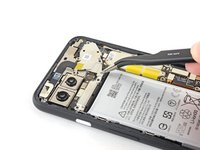
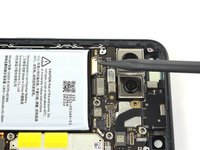
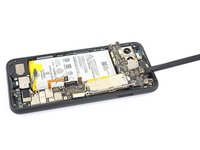
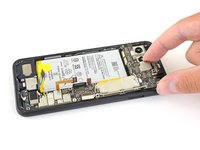
      • Use a pair of tweezers to remove the rear-facing camera module.

      FixBot'a Sor

      Yorum Ekle

Sonuç

Compare your new replacement part to the original part—you may need to transfer remaining components or remove adhesive backings from the new part before installing.

To reassemble your device, follow the above steps in reverse order.

Take your e-waste to an R2 or e-Stewards certified recycler.

Repair didn’t go as planned? Try some basic troubleshooting, or ask our Answers community for help.

İptal et: Bu kılavuzu tamamlamadım.

Carsten Frauenheim

Üyelik tarihi: 03/10/20

167.981 İtibar

439 adet Kılavuz yazıldı

Ekip

iFixit iFixit üyesi

Staff

123 Üyeler

39.487 adet Kılavuz yazıldı

0Kılavuz Yorumları

Yorum Ekle

İstatistikleri Görüntüle:

Son 24 Saat: 0

Son 7 gün: 6

Son 30 gün: 41

Her zaman: 2,501