Giriş
This repair guide was authored by the iFixit staff and hasn’t been endorsed by Google. Learn more about our repair guides here.
Use this guide to remove or replace the display assembly on your Google Pixel 4 XL.
Note: Follow this guide to replace the display assembly by itself. Some replacement assemblies for this phone come pre-installed in a new frame (a.k.a. chassis), which requires you to transplant all of your phone's internals and install a new battery. If you're replacing the display assembly attached to a frame, follow this guide instead.
Due to the Pixel’s design, you will have to remove the back panel in order to disconnect the display connector.
Before you begin this procedure, be sure to have a set of replacement adhesives for both the back panel and the display panel.
This procedure will almost always destructively remove the Pixel 4 XL’s display assembly. OLEDs cease to work when exposed to oxygen or moisture, and are thus sealed in an airtight encapsulation (this is also why OLED panels turn black underneath a display assembly crack). It is very difficult to replace the front glass alone— the Pixel’s OLED layers are laminated to the glass, and the display assembly will come out as one unit.
Caution: Google warns that disassembly of the front laser assembly could result in hazardous exposure to invisible infrared laser emissions. Read their safety warnings here.
Neye ihtiyacın var
-
-
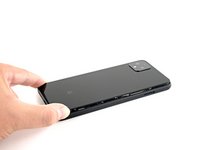
Insert a SIM eject tool, bit, or a straightened paper clip into the small hole on the SIM card tray on the left edge of the phone.
-
Press firmly to eject the tray.
-
Remove the SIM card tray.
-
-
-
Prepare an iOpener and apply it to the bottom edge of the back panel for one minute.
-
-
-
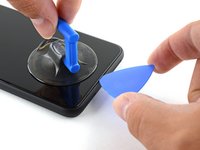
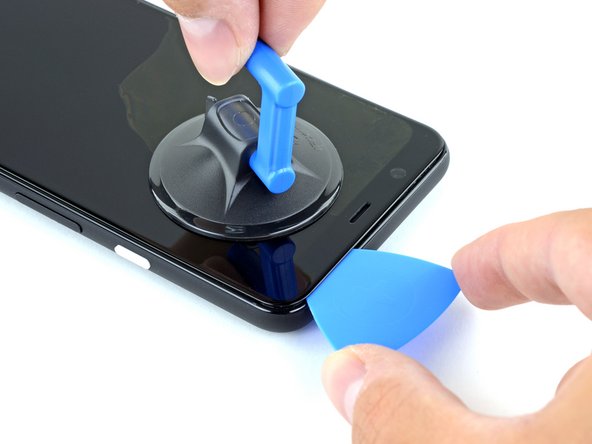
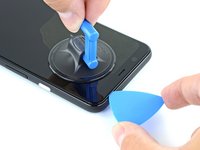
Apply a suction cup to the heated edge of the back panel by pressing down on it to create suction, as close to the edge as possible.
-
-
-
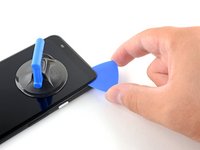
Pull up on the suction cup with strong, steady force to create a gap between the back panel and the frame.
-
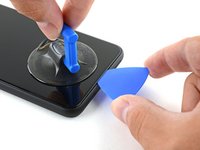
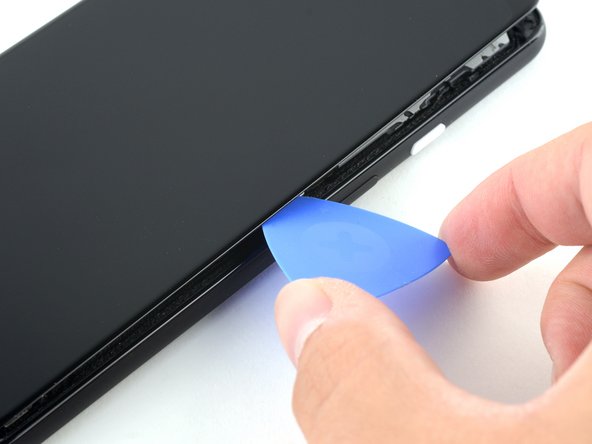
Insert the point of an opening pick into the gap.
-
-
-
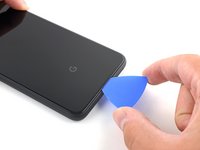
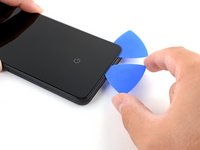
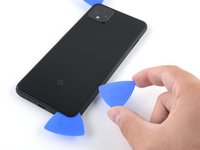
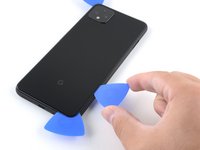
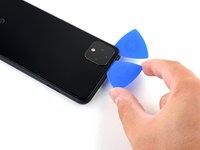
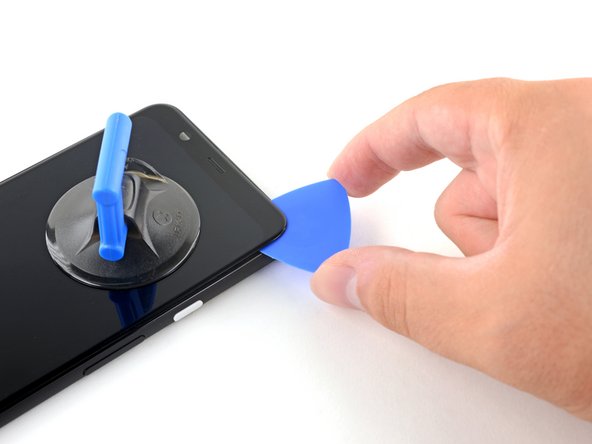
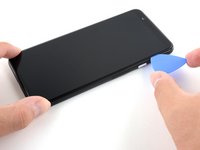
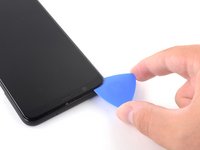
Slide the opening pick across the bottom towards the left corner to slice the adhesive.
-
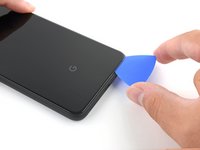
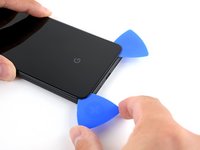
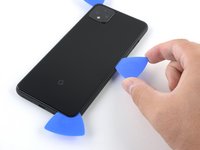
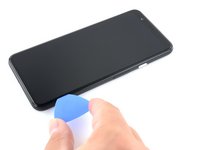
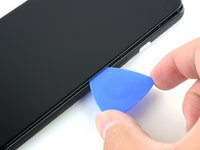
With the pick still inserted, slide it from the bottom left corner over to the bottom right corner to completely slice the bottom side adhesive.
-
Leave the pick inserted in the bottom right corner to prevent the adhesive from re-sealing.
-
-
-
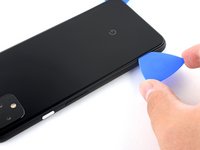
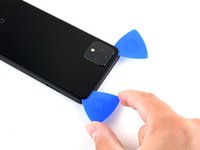
Prepare an iOpener and apply it on the left edge of the phone for one minute.
-
-
-
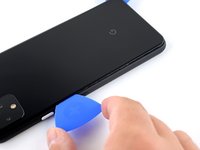
Prepare an iOpener and apply it on the right edge of the phone for one minute.
-
-
-
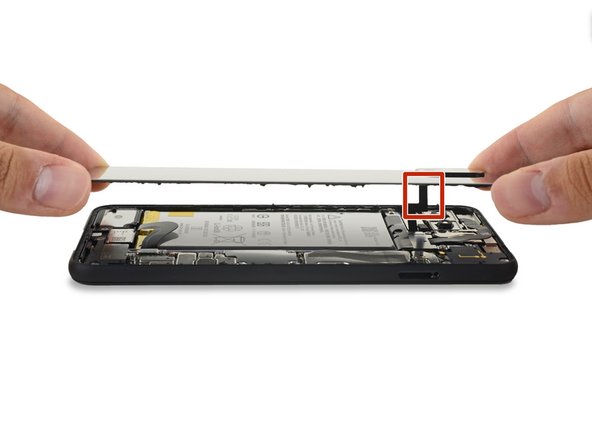
Slide the third opening pick around the top right corner and across the top side of the phone, slicing the final strip of adhesive.
-
-
-
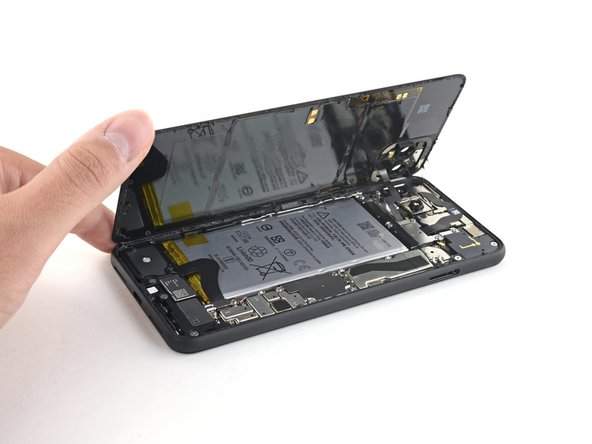
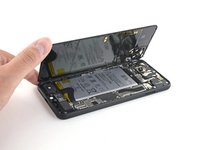
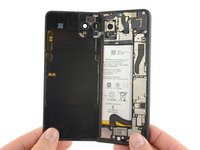
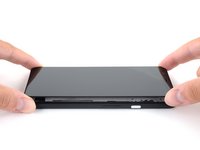
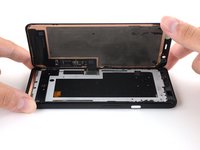
Once you have sliced around the perimeter of the phone, carefully lift the right edge of the back cover, opening it like a book.
-
Do not try to pull the panel all the way off yet, as it is still connected to the phone.
-
-
Bu adımda kullanılan alet:Magnetic Project Mat$19.95
-
Remove the four T3 Torx screws securing the battery connector shield:
-
One 1.8 mm screw
-
One 4.1 mm screw
-
One 4.4 mm shouldered screw
-
One 4.0 mm shouldered screw
-
-
-
-
Use a T3 Torx driver to remove the two 4.1 mm screws securing the back panel connector cover.
-
-
-
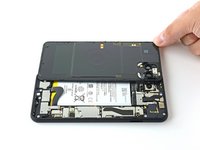
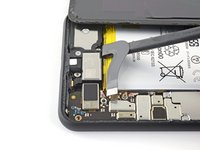
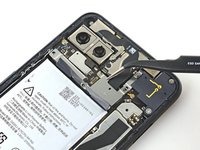
Gently pry back the battery adhesive pull tab to allow easier access to the screws underneath it.
-
-
-
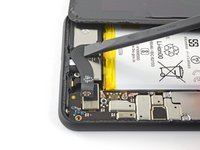
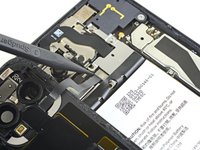
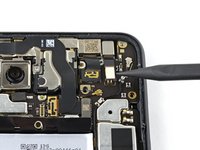
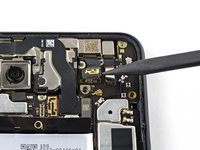
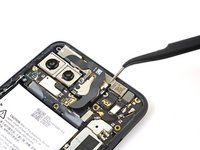
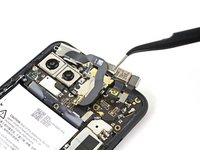
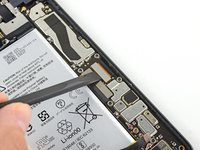
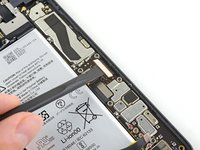
Using the pointed end of a spudger, pry the camera and sensor connectors straight up from the motherboard.
-
-
-
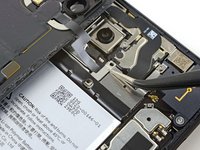
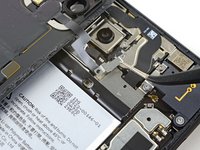
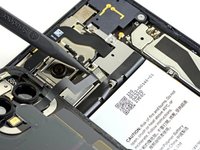
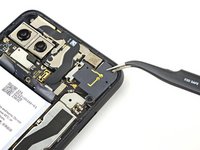
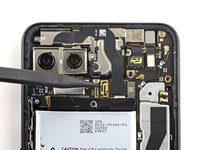
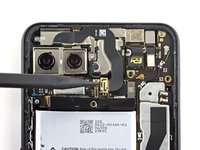
Remove the three T3 Torx screws securing the front camera and sensor assembly:
-
Two 2.7 mm screws
-
One 3.1 mm screw
-
-
-
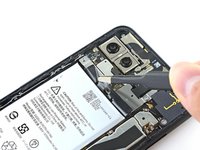
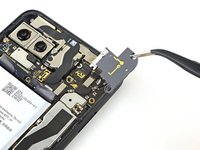
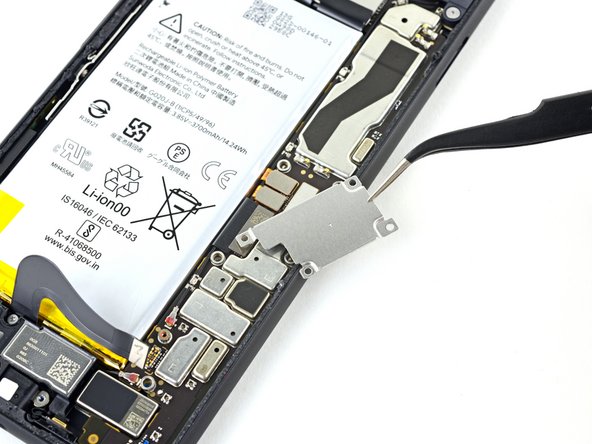
Use a T3 Torx driver to remove the four 3.5 mm screws securing the display connector cover.
-
-
-
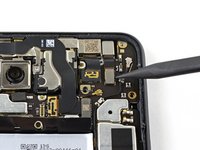
Prepare an iOpener and apply it to the right edge of the display near the power button for one minute.
-
-
-
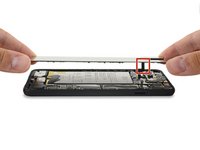
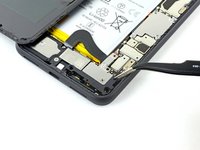
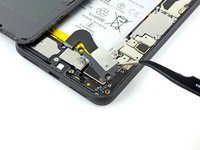
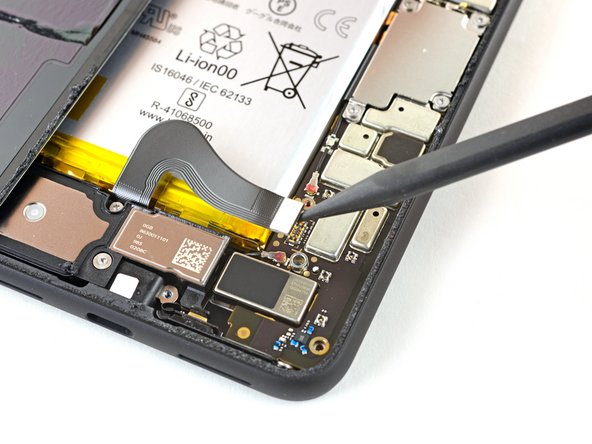
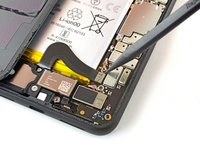
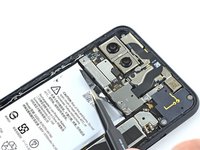
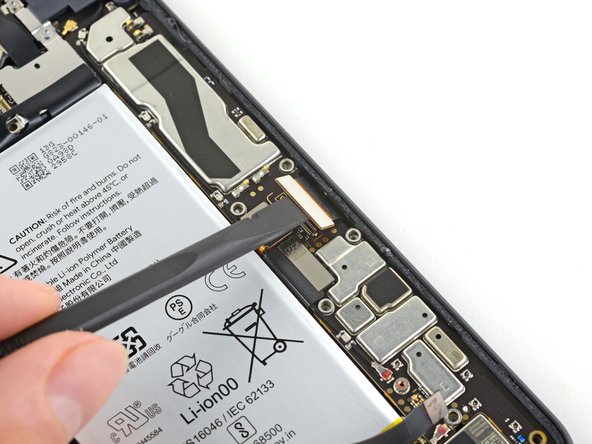
Slide the display connector out of the hole near the motherboard to separate the display assembly from the rest of the phone.
-
-
-
Remove the display assembly.
-
Be sure to test your repairs before you affix the display assembly with adhesives.
-


Compare your new replacement part to the original part—you may need to transfer remaining components or remove adhesive backings from the new part before installing.
To reassemble your device, follow the above steps in reverse order.
Take your e-waste to an R2 or e-Stewards certified recycler.
Repair didn’t go as planned? Try some basic troubleshooting, or ask our Answers community for help.
İptal et: Bu kılavuzu tamamlamadım.
21 farklı kişi bu kılavuzu tamamladı.


10Kılavuz Yorumları
Because the front-facing camera module is partially embedded in the screen, it’s recommended that you remove it before attempting a screen repair. You won’t have to worry about damaging or realigning the module during reassembly!
Hi, I bought an OEM screen to replace my broken one: how can I make sure the OEM replacement is an original one and not simply a comaptible screen of lower quality?
If I'm only replacing the front screen which steps do I need to do and which can I skip?
The Pixel 4 XL’s layout requires the rear panel to be removed in order to disconnect the display connector, which is necessary to do prior to removing & replacing the display. This guide is that entire process, so no steps should be skipped. Happy fixing!