Giriş
This repair guide was authored by the iFixit staff and hasn’t been endorsed by Google. Learn more about our repair guides here.
Follow this guide to remove and replace the motherboard on the Google Pixel 5.
For your safety, discharge your battery below 25% before disassembling your phone. This reduces the risk of a dangerous thermal event if the battery is accidentally damaged during the repair.
Warning: Do not reuse the battery if it has been deformed or damaged, as doing so is a potential safety hazard. Replace it with a new battery.
Neye ihtiyacın var
-
-
Insert a SIM eject tool, bit, or straightened paper clip into the SIM card tray hole.
-
Press firmly to eject the SIM card tray.
-
Remove the SIM card tray.
-
-
-
Heat an iOpener and apply it to the bottom edge of the screen for one minute.
-
-
-
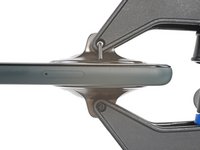
Screen seam: This seam separates the screen from the rest of the phone. Do not pry at this seam.
-
Bezel seam: This is where the plastic bezel designed to protect the screen meets the frame. It's held in place by plastic clips. This is where you should pry.
-
-
Bu adımda kullanılan alet:Clampy - Anti-Clamp$24.95
-
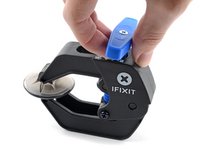
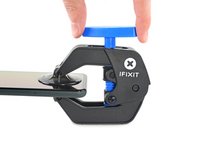
Pull the blue handle towards the hinge to disengage opening mode.
-
Position the suction cups near the bottom edge of the screen—one on the front, and one on the back.
-
Push down on the cups to apply suction to the desired area.
-
-
-
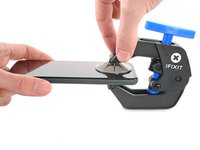
Push the blue handle away from the hinge to engage opening mode.
-
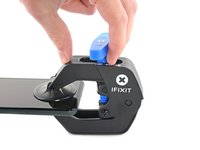
Turn the handle clockwise until you see the cups start to stretch.
-
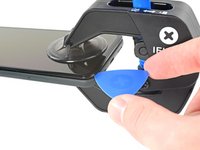
Wait one minute to give the adhesive a chance to release and present an opening gap.
-
Insert an opening pick under the screen and its bezel frame when the Anti-Clamp creates a large enough gap.
-
Skip the next step.
-
-
-
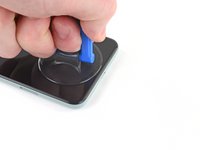
Apply a suction cup to the screen, as close to the heated edge as possible.
-
Pull up on the suction cup with strong, steady force to create a gap.
-
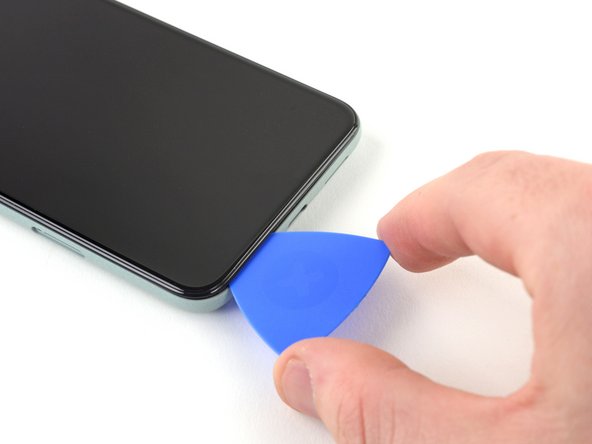
Insert the opening pick into the gap.
-
-
-
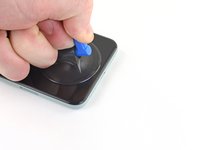
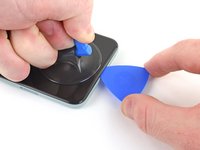
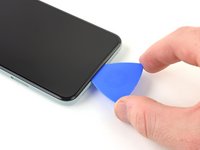
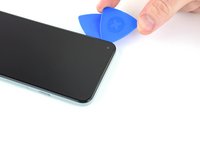
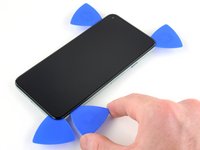
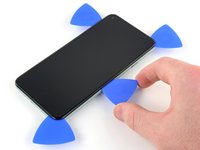
Slide the opening pick back and forth along the bottom of the screen to slice the adhesive.
-
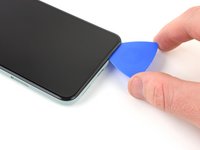
Leave the pick inserted in the bottom right corner to prevent the adhesive from re-sealing.
-
-
-
Apply a heated iOpener to the left edge of the screen for one minute.
-
-
-
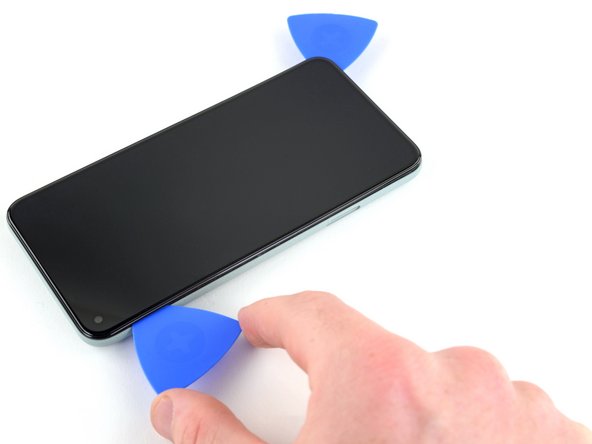
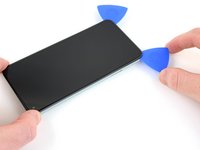
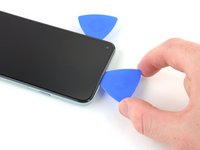
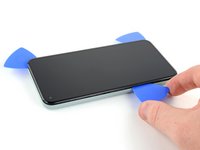
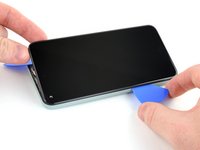
Insert another opening pick into the bottom left corner of the screen.
-
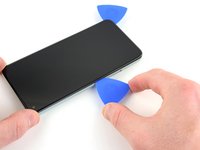
Slide the opening pick around the left corner.
-
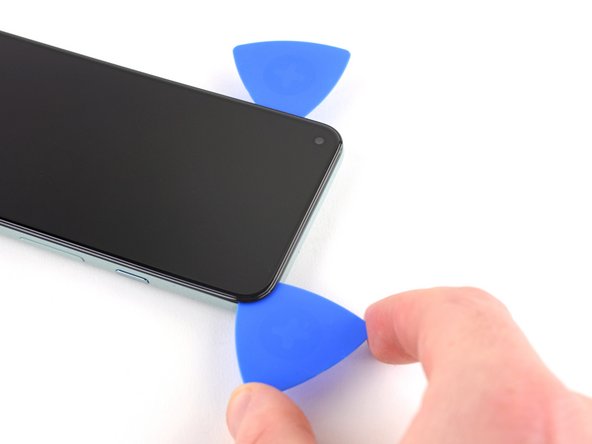
Continue to slide the pick up towards the front camera to slice the adhesive on the left edge of the screen.
-
Leave the pick inserted to prevent the adhesive from re-sealing.
-
-
-
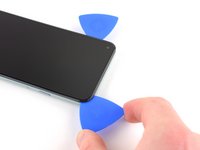
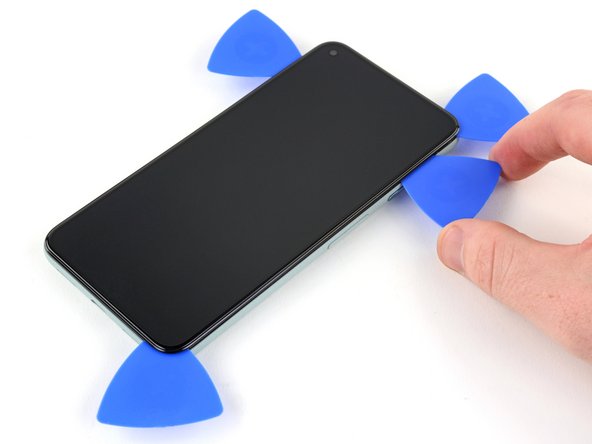
Use the opening pick from the top left corner to lift up the left edge of the screen a few millimeters. This will keep the clips from snapping back down into the case.
-
Lift up on the right side of the screen and open up the phone like a book.
-
-
Bu adımda kullanılan alet:Tweezers$4.99
-
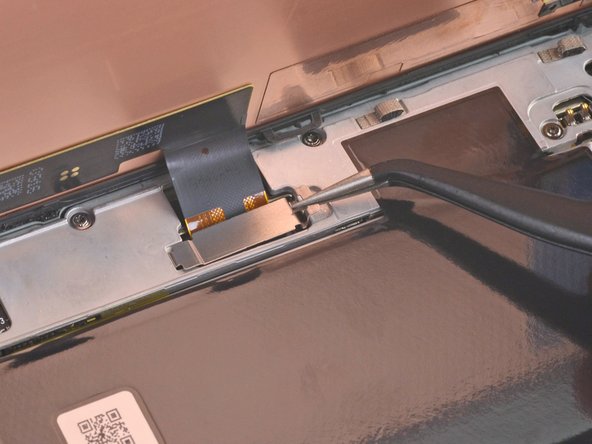
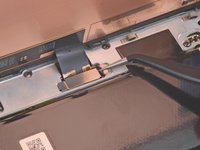
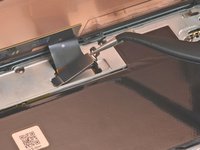
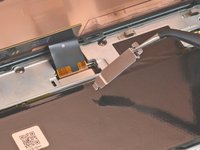
Use tweezers to grip the screen connector cover securing the screen flex cable.
-
Push the clip in towards the connector to unlatch it.
-
-
-
-
When handling your screen, grip it by its edges.
-
When placing the screen on your work area, make sure nothing is touching the bottom of the screen. Consider placing it on a soft, lint-free cloth.
-
-
Bu adımda kullanılan alet:Tweezers$4.99
-
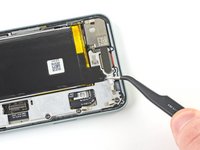
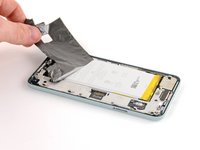
Use tweezers to lift up the graphite tape until you are able to grip it with your fingers.
-
Peel off the graphite tape.
-
-
Bu adımda kullanılan alet:Magnetic Project Mat$19.95
-
Use a T3 Torx driver to remove the two 4.6 mm-long screws securing the charging plate cover to the midframe.
-
-
-
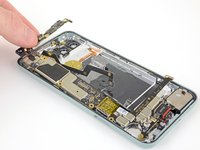
Use tweezers to lift up the right side of the midframe.
-
Remove the midframe.
-
-
-
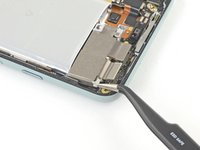
Use the pointed end of the spudger to pry the battery connector straight up and disconnect it from the motherboard.
-
-
-
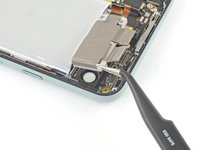
Use a T3 Torx driver to remove the 4.1 mm shouldered screw.
-
-
-
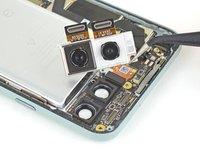
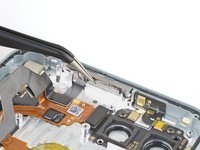
Use the spudger to disconnect the two rear camera press connectors from the motherboard.
-
-
Bu adımda kullanılan alet:Tweezers$4.99
-
Use tweezers to lift up on the rear camera assembly to remove it from its housing.
-
-
Bu adımda kullanılan alet:Tweezers$4.99
-
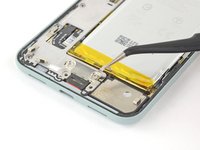
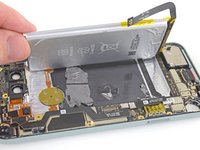
Use blunt nose tweezers to grip the black adhesive pull tab located on the top right edge of the battery. Lift the pull tab with the tweezers until you are able to grip it with your fingers.
-
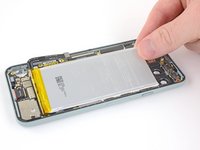
Pull on the pull tab with a slow, steady force at a shallow angle to prevent the pull tab from snapping in the middle.
-
If the pull tab breaks prematurely, use tweezers to retrieve the remaining length of adhesive and continue pulling.
-
-
-
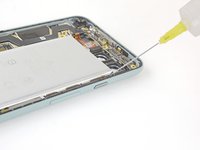
If any of the adhesive strips broke off underneath the battery and could not be retrieved, apply a few drops of high concentration (over 90%) isopropyl alcohol into the opening of the affected tab.
-
-
Bu adımda kullanılan alet:Plastic Cards$2.99
-
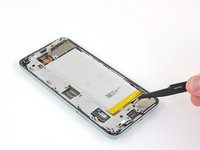
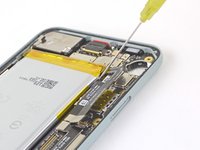
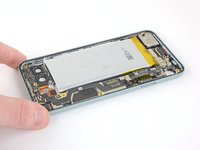
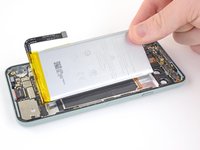
Insert an opening pick into the gap long the left side of the battery.
-
Use the opening pick to slice the remaining adhesive at the top and bottom of the battery.
-
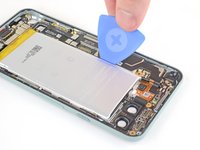
If you cannot pry the battery up, add a few more drops of isopropyl alcohol to the adhesive. A plastic card can also be helpful during this process.
-
-
-
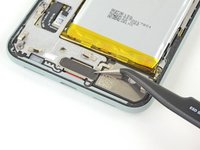
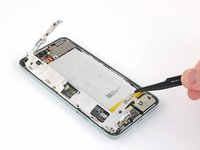
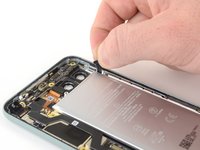
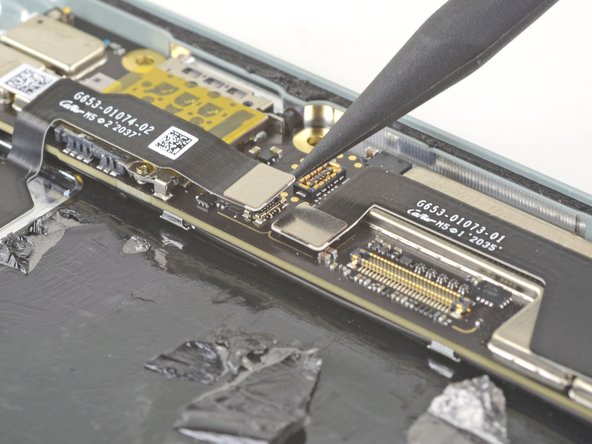
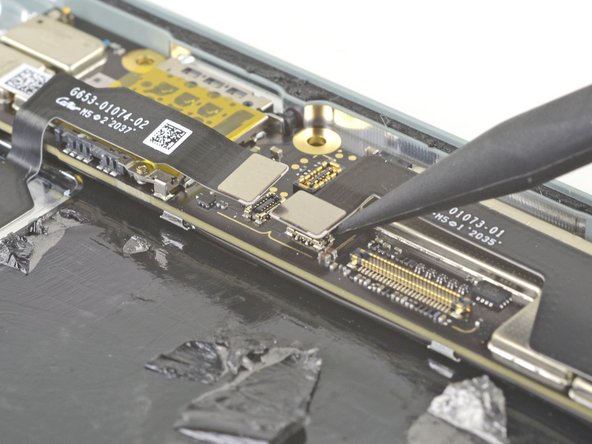
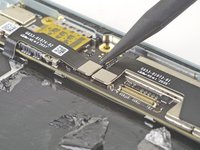
Use the pointed end of a spudger to disconnect the two press connectors by lifting them straight up from the motherboard.
-
-
-
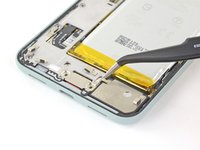
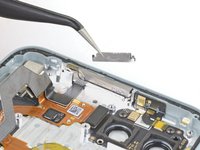
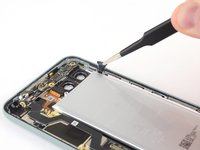
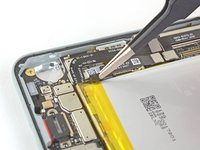
Use a T3 Torx driver to remove the two 2.9 mm screws securing the motherboard to the rear case.
-
-
-
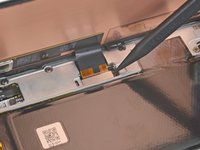
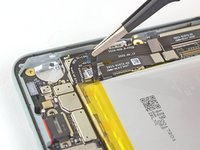
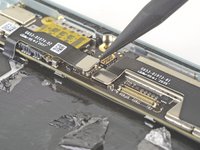
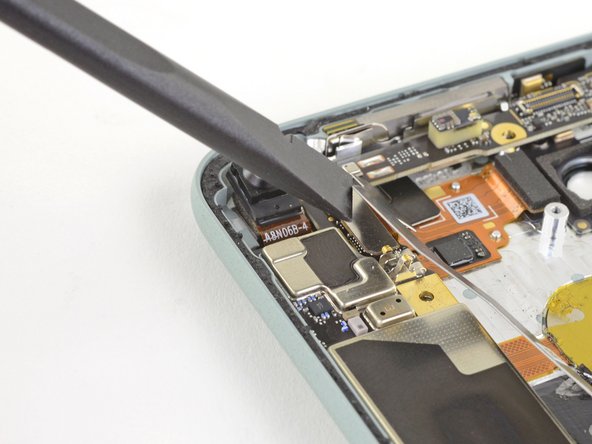
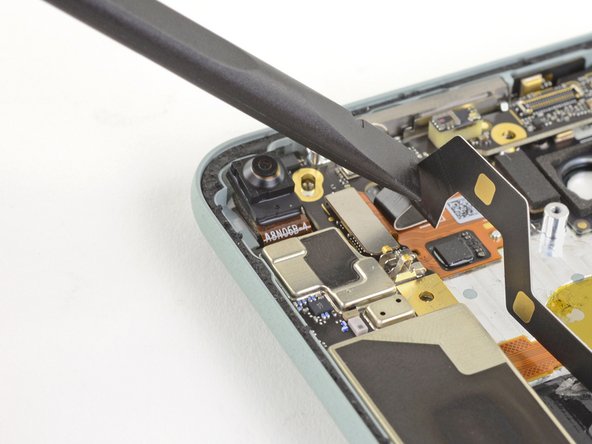
Use a spudger to gently fold the flex cable covering the rear case press connector out of the way.
-
-
-
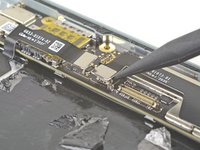
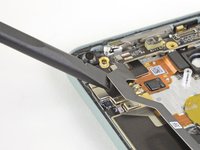
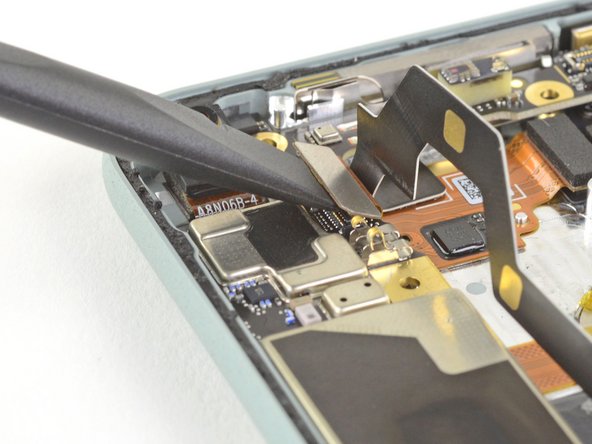
Use the spudger to disconnect the rear case press connector.
-
-
-
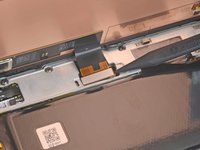
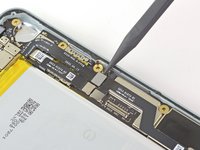
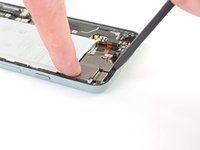
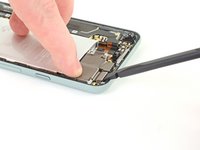
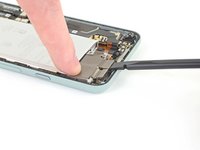
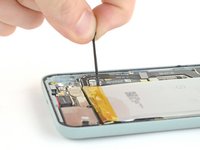
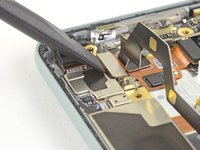
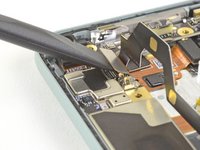
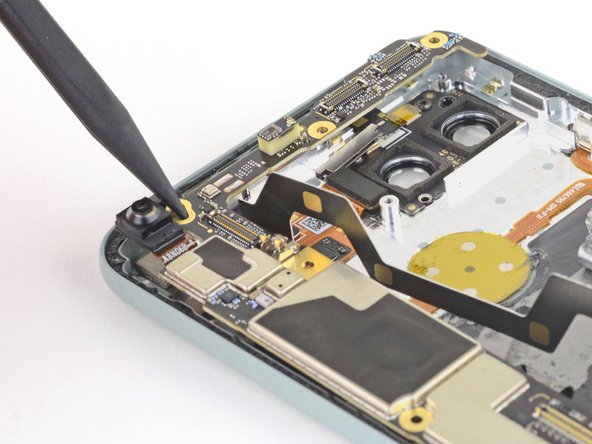
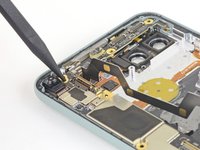
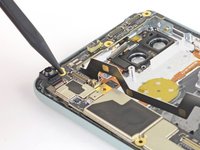
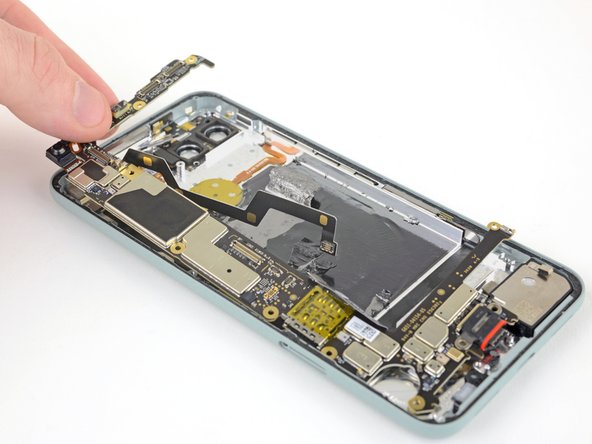
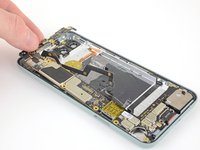
Insert the pointed end of the spudger into the screw holes near the front facing camera.
-
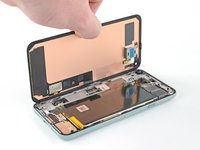
Push the motherboard down towards the bottom of the phone, then lift up to free the top of the motherboard from the rear case.
-


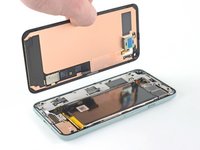


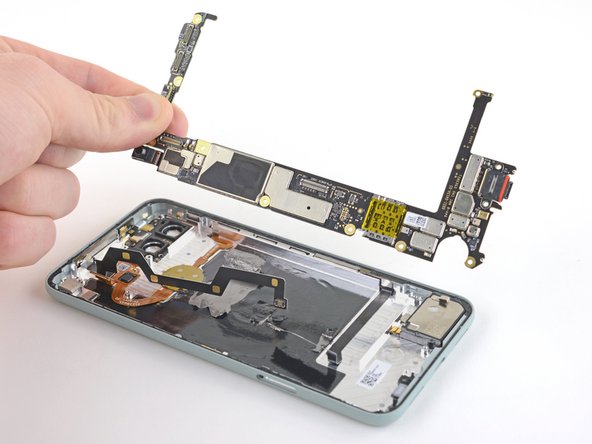


Compare your new replacement part to the original part—you may need to transfer remaining components or remove adhesive backings from the new part before installing.
To reassemble your device, follow the above steps in reverse order.
Take your e-waste to an R2 or e-Stewards certified recycler.
Repair didn’t go as planned? Try some basic troubleshooting, or ask our Answers community for help.
İptal et: Bu kılavuzu tamamlamadım.
3 farklı kişi bu kılavuzu tamamladı.

4Kılavuz Yorumları
Good day. Please tell me, what is the size of the vibration motor for the pixel 5? I can't find the type of vibro motor anywhere.
Mr. Boyd, where exactly is the proximity sensor inside the Pixel 5 phone?
Any idea on model number for power IC in pixel 5? The technician is saying its Qualcomm PM8996 or PMI 8996 001 Power Management IC. Can somebody please help with my dead pixel 5 please!
Is the pixel 5 motherboard available for purchase?
What about the front camera and or camera module/board.
My cameras are not working and I already replaced the rear cameras to no avail.