Giriş
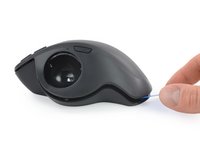
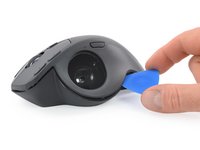
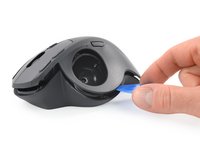
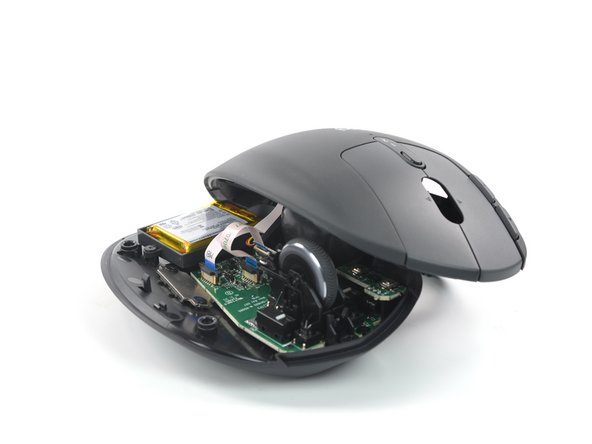
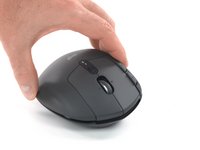
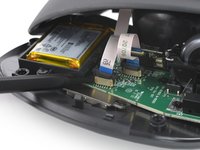
Use this guide to replace the battery in a Logitech MX Ergo.
If your battery is swollen, take appropriate precautions. For your safety, discharge your battery below 25% before disassembling your device. This reduces the risk of a dangerous thermal event if the battery is accidentally damaged during the repair.
You’ll need replacement adhesive to reattach components when reassembling the device.
Neye ihtiyacın var
-
-
Before you begin, flip the mouse's power switch into the OFF position.
-
-
-
Remove the magnetic cover by pulling it away from the bottom mouse half.
-
-
-
Use a Torx T6 screwdriver to remove the six 5.7 mm-long screws securing the two halves of the mouse together.
-
-
-
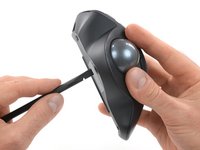
Insert a spudger into the hole on the bottom of the mouse, located under the trackball.
-
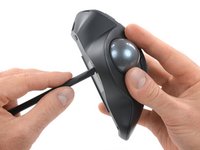
Use the spudger to push the trackball out of its recess.
-
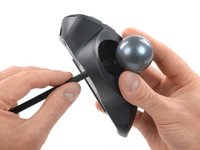
Remove the trackball.
-
-
-
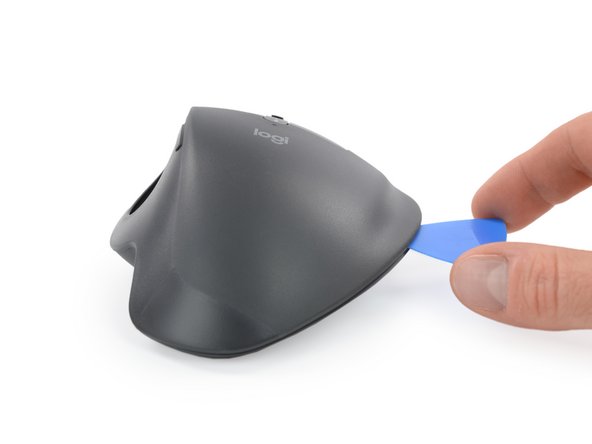
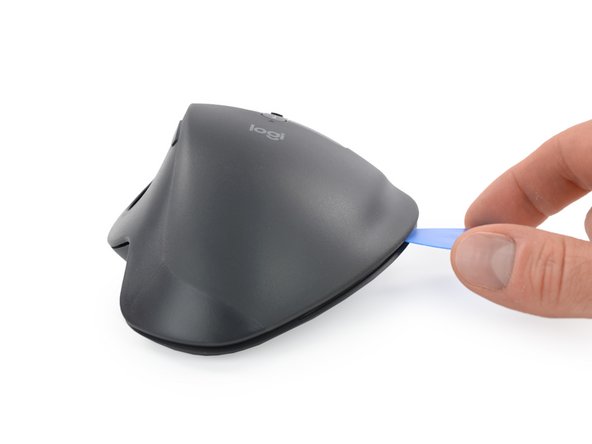
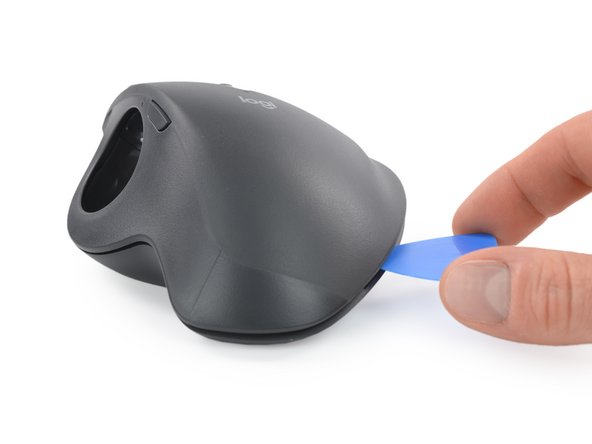
Insert an opening pick into the gap on the right side of the mouse.
-
Rotate the opening pick about 30 degrees to unhinge the plastic clip.
-
-
-
-
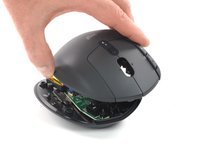
For better access, place the top half of the mouse to the left of the lower half of the mouse.
-
-
-
Use the pointed end of a spudger to gently lift the left side of the black sliding lock on the interconnect cable socket until it stops.
-
-
-
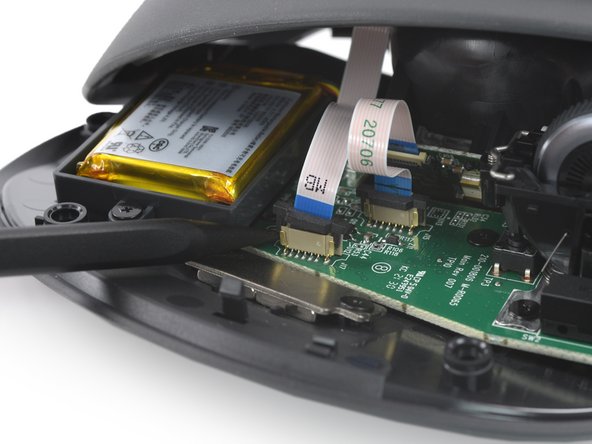
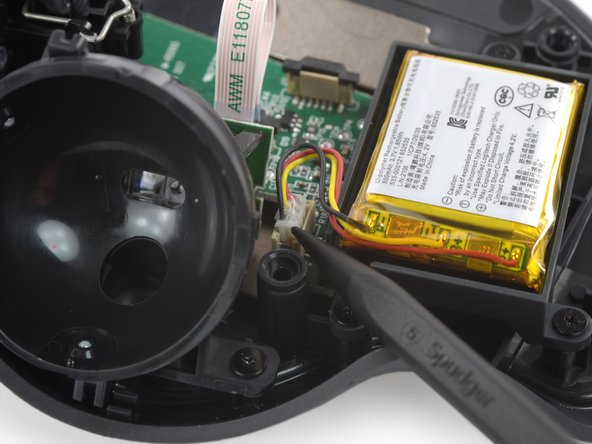
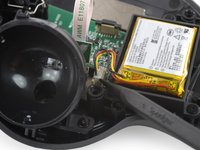
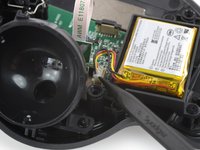
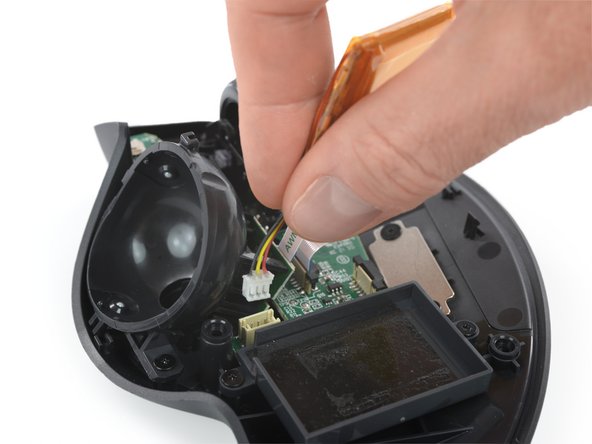
Use the pointed end of a spudger to push the battery connector up and out of its socket.
-
-
-
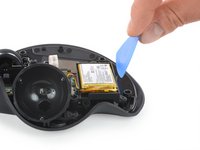
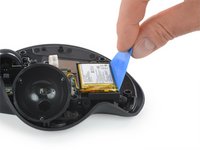
Insert the long edge of an opening pick between the battery and its housing at the side opposite the battery cable.
-
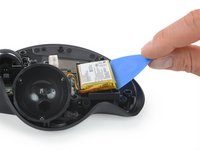
Push the opening pick under the battery and lift up to pry the battery off of its housing.
-
-
-
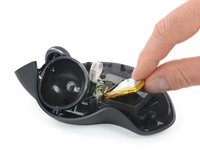
Use your fingers to carefully pull the cable out of the socket.
-
Remove the battery.
-
Follow this guide to install new precut adhesive.
-
If possible, turn on your device and test your repair before installing new adhesive and resealing.
Secure the new battery with pre-cut adhesive or double-sided adhesive tape. In order to position it correctly, apply the new adhesive into the device at the places where the old adhesive was located, not directly onto the battery. Press the new battery firmly into place.
Compare your new replacement part to the original part—you may need to transfer remaining components or remove adhesive backings from the new part before installing.
For optimal performance, calibrate your newly installed battery: Charge it to 100% and keep charging it for at least 2 more hours. Then use your device until it shuts off due to low battery. Finally, charge it uninterrupted to 100%.
To reassemble your device, follow the above steps in reverse order.
Take your e-waste to an R2 or e-Stewards certified recycler.
Repair didn’t go as planned? Check out our Answers community for troubleshooting help.
İptal et: Bu kılavuzu tamamlamadım.
15 farklı kişi bu kılavuzu tamamladı.
7Kılavuz Yorumları
This guide is fantastic! It was super easy to fix! Thanks!
Its a very thorough explinations and guide except the most important point.
Where to buy the new replacement battery.
Those are very well-done instructions. The new battery installation went very well. Thanks for the help.
hi where did you buy the battery?
Yanna -


