Giriş
Use this guide to remove the battery in your MacBook Pro 13" 2022 (M2).
This process involves iFixit adhesive remover, which dissolves the tough adhesive securing the battery cells to the frame. Adhesive remover is flammable. Perform this repair in a safe and well-ventilated area.
If your battery is swollen, take appropriate precautions.
Some photos in this guide are from a different model and may contain slight visual discrepancies, but they won't affect the procedure.
Neye ihtiyacın var
-
-
Unplug all cables and fully shut down your MacBook.
-
Close the lid and flip your MacBook over. Keep the lid closed until you've physically disconnected the battery.
 FixBot'a Sor
-
-
Bu adımda kullanılan alet:FixMat$36.95
-
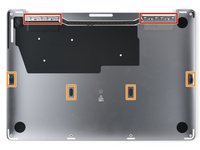
Use a P5 Pentalobe driver to remove the six screws securing the lower case:
-
Two 6.8 mm screws
-
Two 5.3 mm screws
-
Two 3.4 mm screws
-
-
-
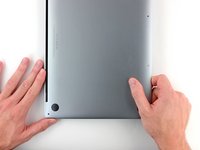
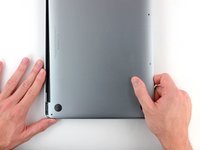
Apply a suction handle near the front edge of the lower case, between the screw holes.
-
Pull up on the suction handle to create a gap between the lower case and the frame.
-
-
-
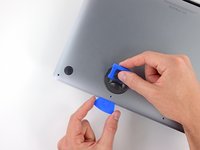
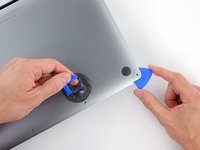
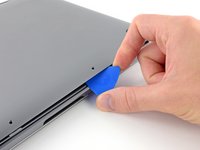
Insert an opening pick between the lower case and the frame.
-
Slide the pick around the left corner to release the first set of clips.
-
-
-
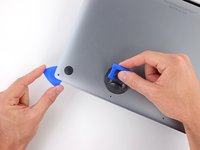
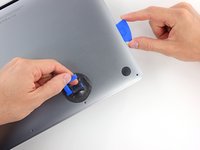
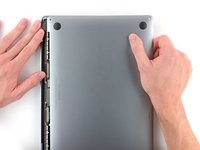
Slide your opening pick around the right corner to release the second set of clips securing the lower case.
-
-
-
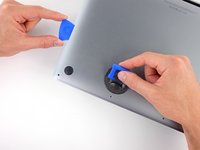
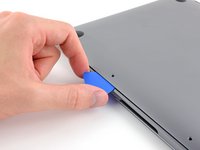
Insert your opening pick between the lower case and the frame near the middle left screw hole.
-
Firmly twist the pick until the clip releases.
-
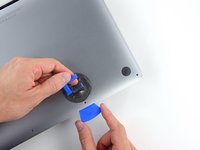
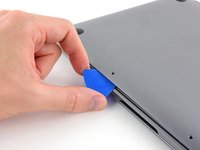
Repeat this procedure for the clip near the middle right screw hole.
-
-
-
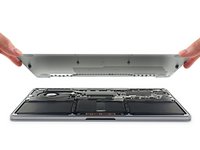
Firmly pull the lower case away from the screen hinges to release the last clips securing it to the frame.
-
-
-
Remove the lower case.
-
Set it in place and align the sliding clips near the display hinges. Press down and slide the lower case toward the hinges.
-
Once the lower case is secured near the hinges, press down firmly to engage the remaining four clips.
-
-
Bu adımda kullanılan alet:Tweezers$4.99
-
Use blunt nose tweezers or your fingers to peel and remove the cover from the battery board, just above the middle battery cell.
-
-
-
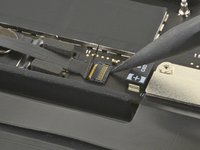
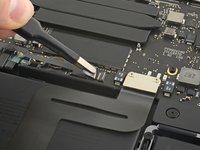
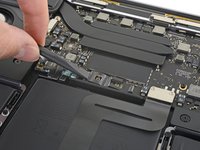
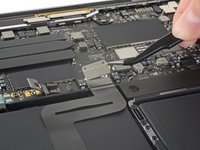
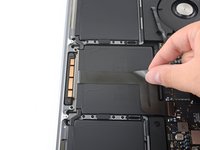
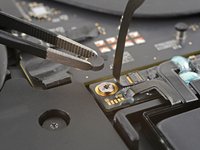
Use blunt nose tweezers to gently peel back the pull tab covering the battery data connector.
-
-
-
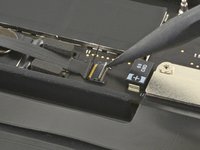
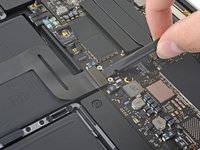
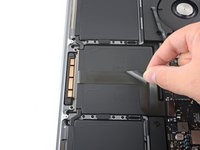
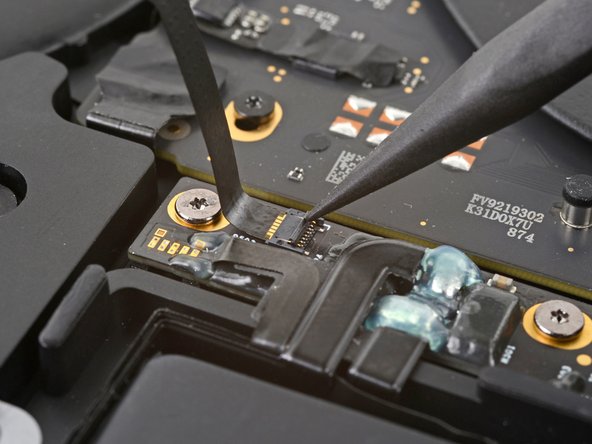
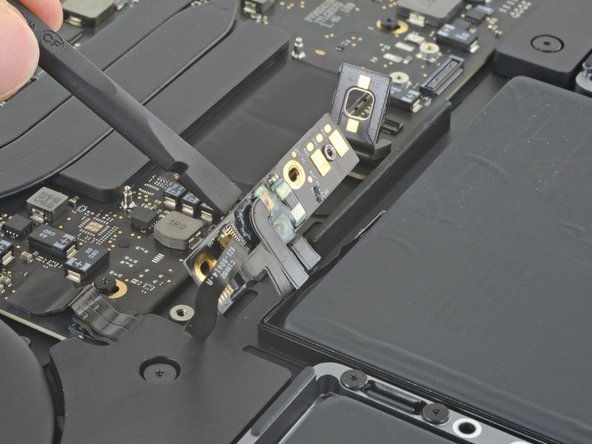
Use the point of a spudger to flip up the small locking tab securing the battery data connector.
-
-
-
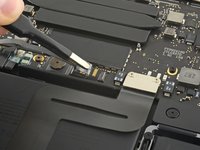
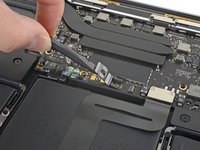
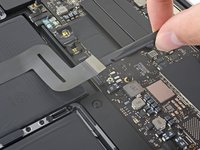
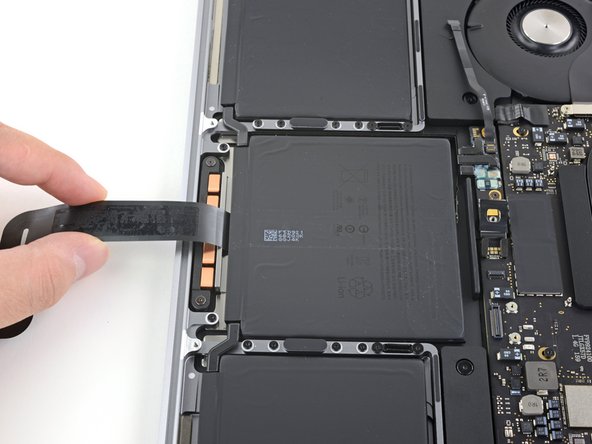
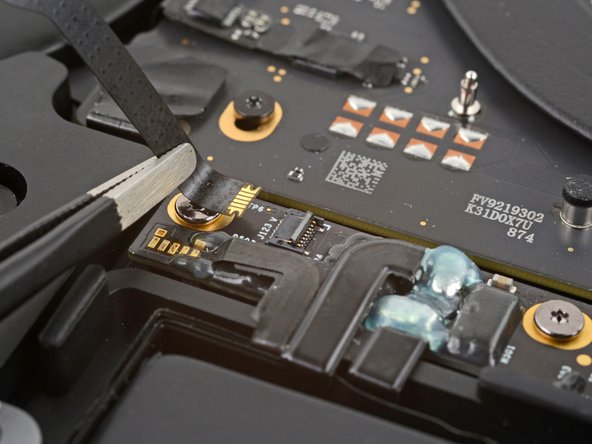
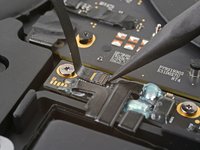
Use blunt nose tweezers or your fingers to grab the battery data cable pull tab and slide it straight out of its socket.
-
Move the cable to the left, out of the way of the battery board.
-
-
-
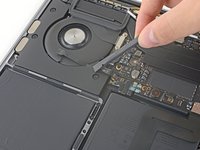
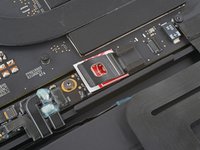
Use a T5 Torx driver to remove the 3.7 mm screw securing the battery connector.
-
-
-
-
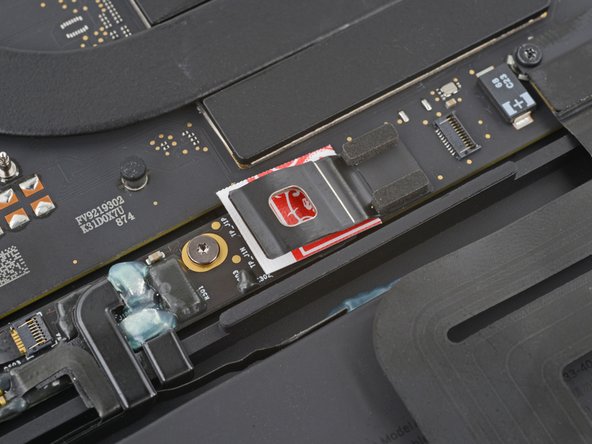
Use the flat end of your spudger to slightly lift the battery connector away from the battery board.
-
-
-
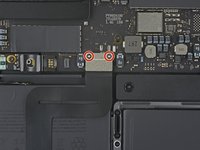
Use your T5 Torx driver to remove the two 1.9 mm screws securing the trackpad cable bracket.
-
Remove the bracket.
-
-
-
Use the flat end of your spudger to pry up and disconnect the trackpad cable from the logic board.
-
-
-
Apply a heated iOpener to the trackpad cable for one minute.
-
-
-
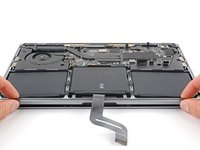
Use your fingers to peel the trackpad cable from the battery.
-
Fold the cable over the front edge of the MacBook.
-
-
-
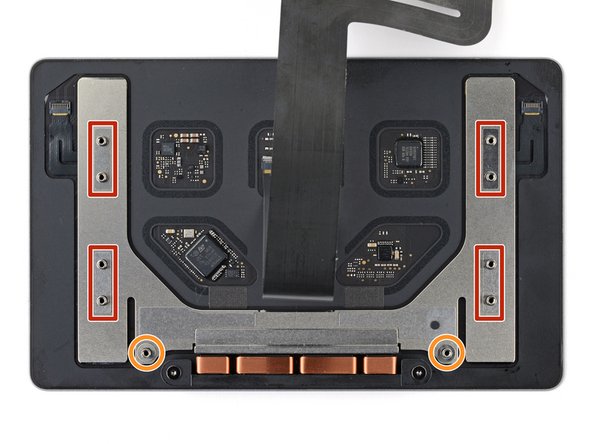
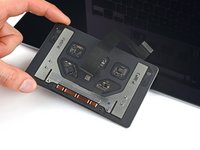
Use your T5 Torx driver to remove the ten screws securing the trackpad:
-
Two 4.3 mm screws
-
Eight 5.8 mm screws
-
-
-
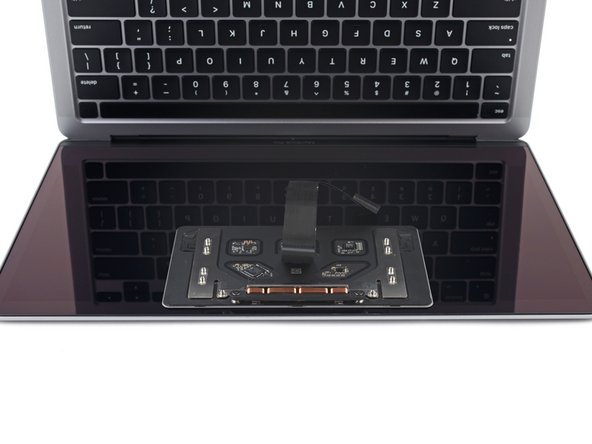
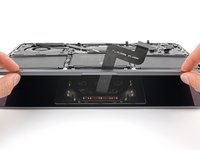
Open your MacBook by lifting the body away from the display and trackpad.
-
Feed the trackpad cable through its cutout in the frame.
-
-
-
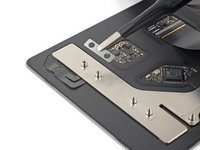
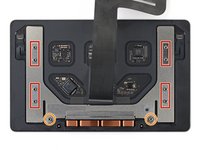
Remove the trackpad from the display.
-
Four rectangular washers
-
Two circular washers
-
-
Bu adımda kullanılan alet:Tweezers$4.99
-
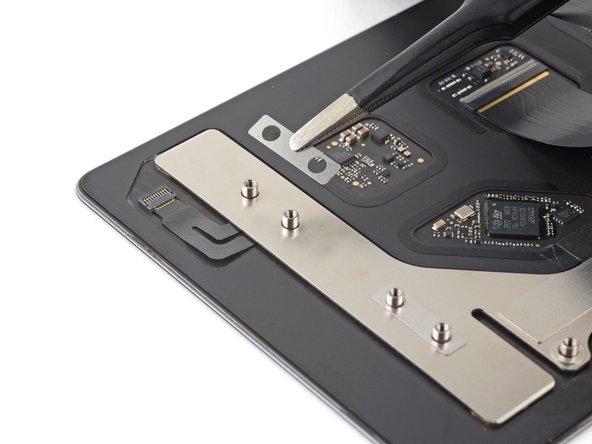
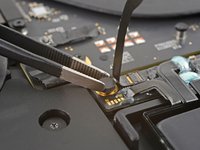
Use blunt nose tweezers or your fingers to remove the rubber cover adhered to the left battery board screw.
-
-
-
Use the point of a spudger to flip up the small locking tab securing the battery data connector.
-
Use blunt nose tweezers or your fingers to grab near the head of the cable and slide it straight out of its socket.
-
Remove the cable.
-
-
-
Use your T5 Torx driver to remove the two 3.1 mm screws securing the battery board.
-
-
-
Insert the flat end of your spudger between the top edge of the battery board and the frame.
-
Lift the board from its recess.
-
-
-
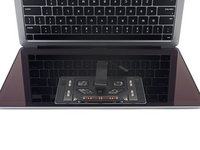
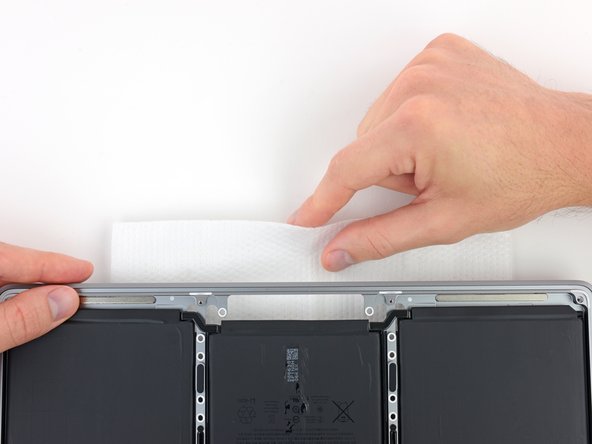
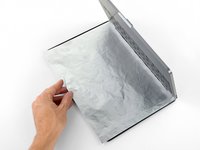
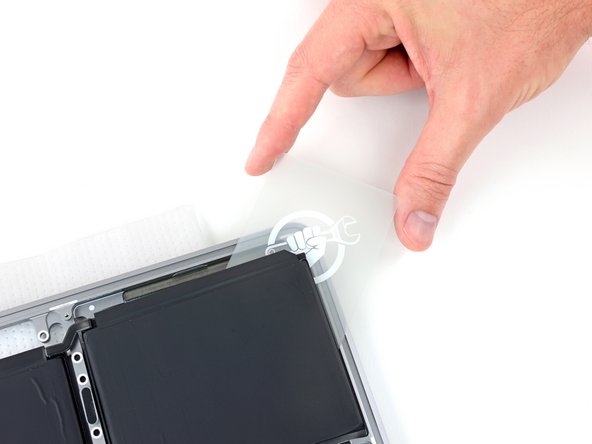
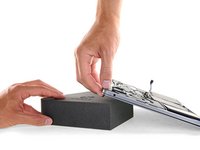
Open your MacBook's lid and place a sheet of aluminum foil between the display and keyboard. Leave it in place while you remove the battery.
-
Place an absorbent towel under the trackpad's recess to soak up any excess adhesive remover.
-
Close the lid and continue disassembly.
-
-
-
Wear eye protection when handling adhesive remover.
-
Do not wear contact lenses without eye protection.
-
Put on gloves to prevent skin irritation.
-
-
-
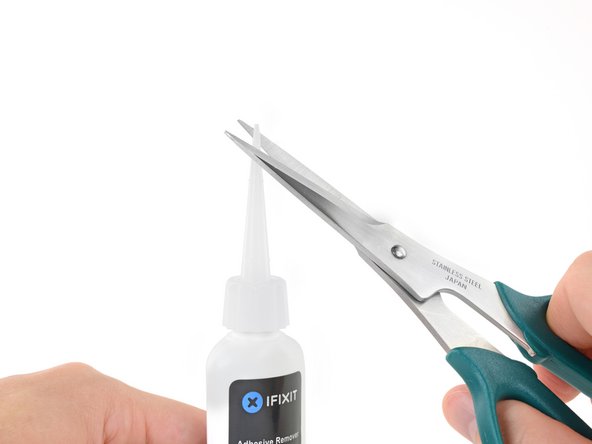
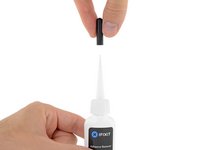
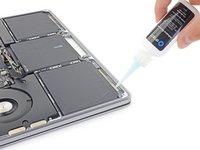
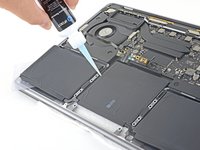
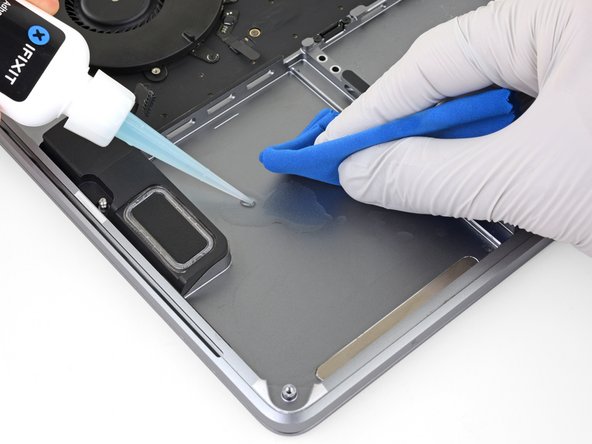
Pull off the black rubber stopper from your bottle of adhesive remover.
-
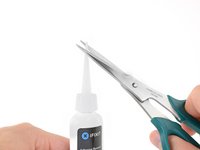
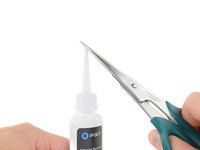
Use scissors to cut off the sealed tip of the applicator.
-
-
-
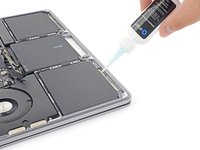
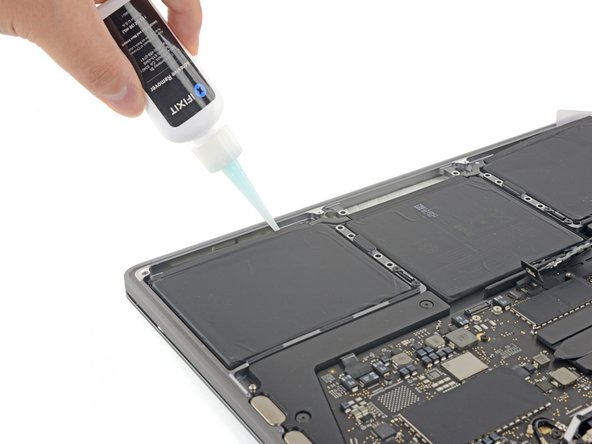
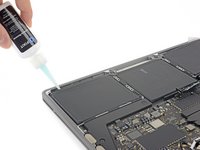
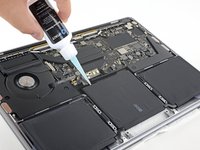
Apply a few drops of adhesive remover under the front edge of the left battery cell.
-
-
-
Tilt the front edge of your MacBook up to allow the adhesive remover to flow underneath the battery cell.
-
Wait two minutes for the adhesive to soften.
-
-
Bu adımda kullanılan alet:Plastic Cards$2.99
-
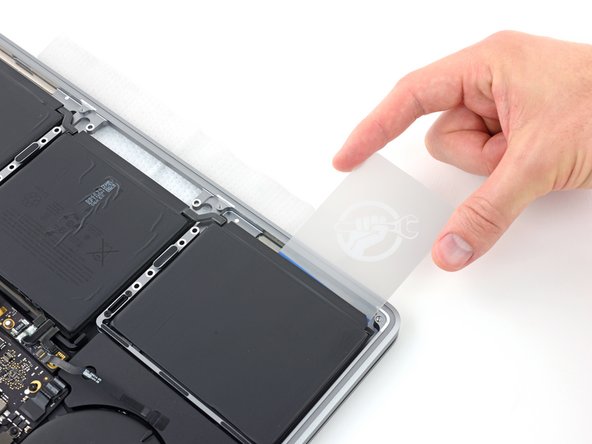
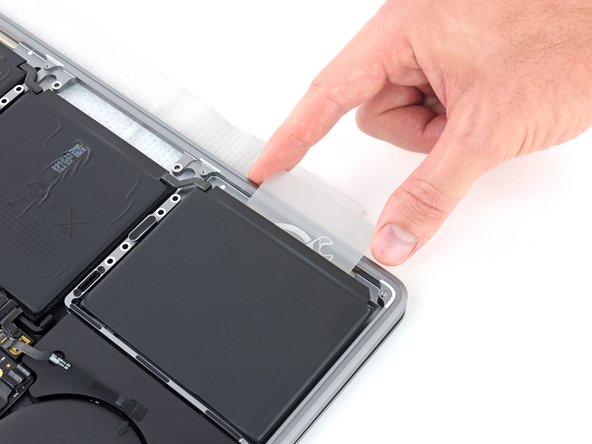
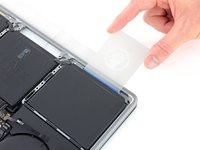
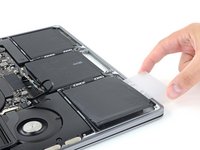
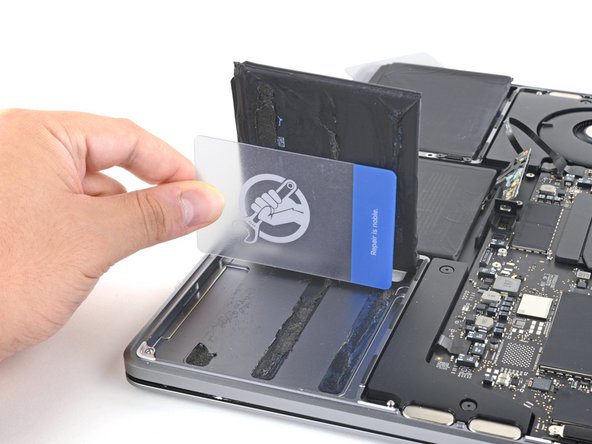
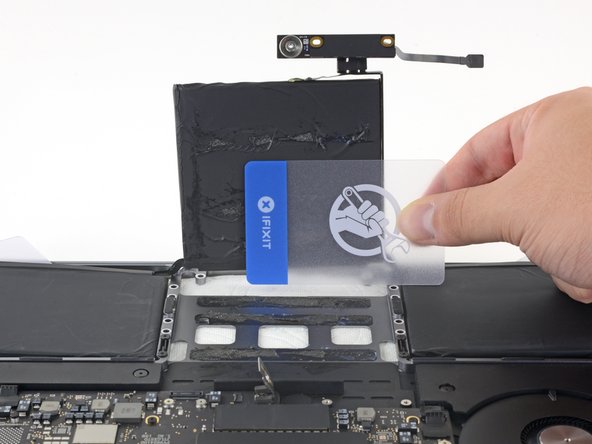
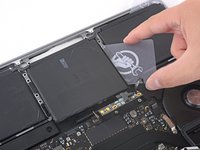
Slide a plastic card under the front edge of the left battery cell.
-
-
-
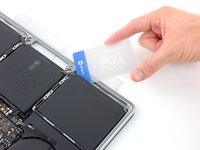
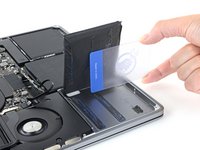
Slide your plastic card deeper under the battery cell to separate its adhesive.
-
-
-
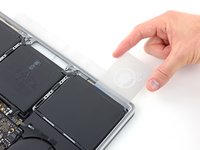
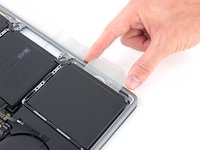
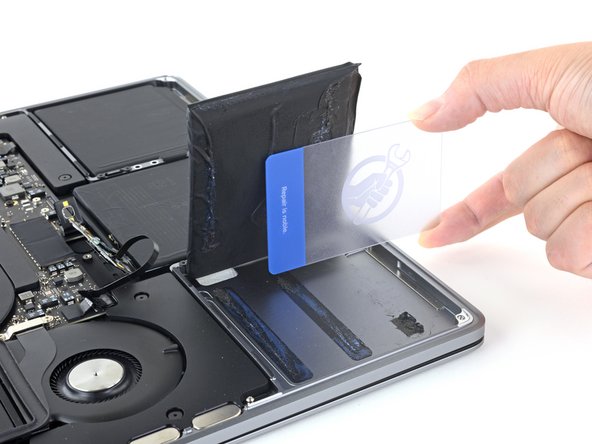
Twist your plastic card to lift the battery cell from the frame.
-
Leave your card in place to prevent the cell from readhering while you separate the other cells.
-
-
-
Separate the right battery cell with your adhesive remover and plastic card, just as you did for the left cell.
-
-
-
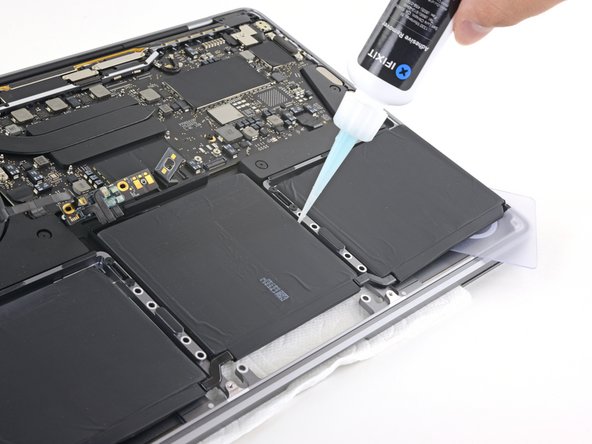
Prop up the back edge of your MacBook with a book or similarly-sized object so your adhesive remover flows away from the logic board and under the middle battery cell.
-
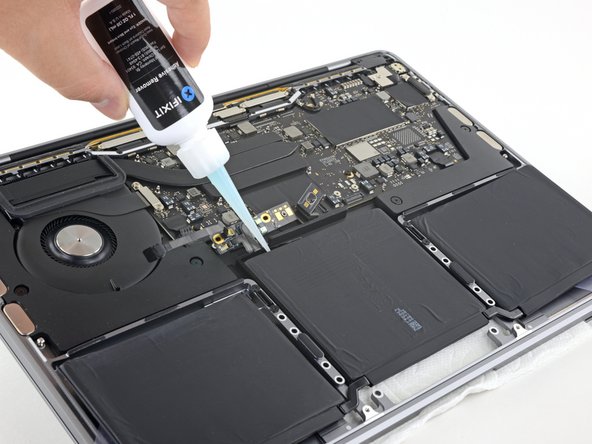
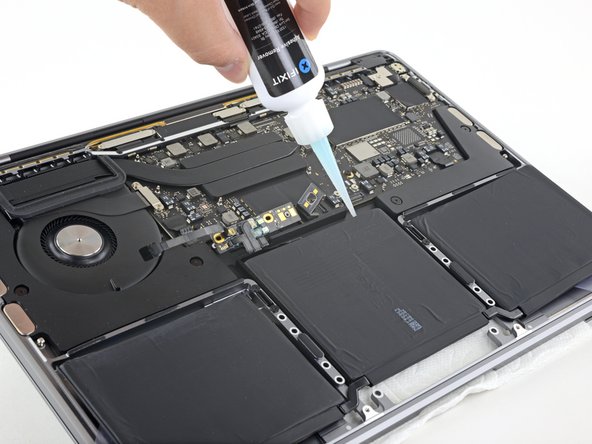
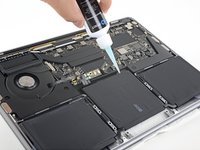
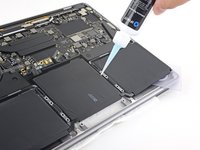
Apply a few drops of adhesive remover to the inside edge of the middle battery cell.
-
-
-
Apply a few drops of adhesive remover to the sides of the middle battery cell to soften the remaining adhesive.
-
Wait two minutes for the adhesive to soften.
-
-
-
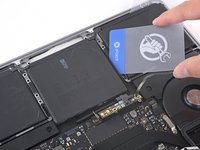
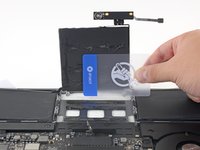
Slide one of your plastic cards under either side of the middle battery cell.
-
Use your card to separate the battery cell from the frame.
-
-
-
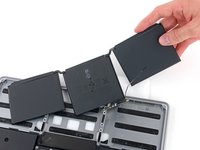
Lift and remove the battery.
-
Use your fingers to pull off large pieces of adhesive.
-
Soak any remaining pieces with adhesive remover and scrape them away with your spudger. Clean any residual adhesive remover.
-
Before removing any adhesive liners, place the new battery into the frame to make sure it fits.
-
Remove all adhesive liners and firmly press each cell into place.
-


Compare your new replacement part to the original part—you may need to transfer remaining components or remove adhesive backings from the new part before installing.
To reassemble your device, follow these instructions in reverse order.
For optimal performance, calibrate your newly installed battery after completing this guide.
If you notice any unusual behavior or problems after installing your new battery, you may need to reset your MacBook Pro's SMC.
Take your e-waste to an R2 or e-Stewards certified recycler.
Repair didn’t go as planned? Try some basic troubleshooting or search our Answers community for help.
İptal et: Bu kılavuzu tamamlamadım.
13 farklı kişi bu kılavuzu tamamladı.

Ekip

2Kılavuz Yorumları
I see from other articles this used adhesive strips Is this not the case?
Can this be verified?
https://everymac.com/systems/apple/macbo...
and
MacBook Pro's battery is held in place by 14 adhesive strips and one screw, with pull tabs that may break and require isopropyl alcohol for safe removal. The M2 chip and logic board in this unit are difficult to access, but since nothing is repairable or upgradeable, it's unlikely anyone will need to be in there.
Bonjour et merci pour ce tutoriel … mais je ne comprends pas trop le différentiel de temps et niveau de difficulté entre ce remplacement sur un MBP 2021 et un 2022, car les tutoriels ont les mêmes étapes mais l'un donne 1 ou 2h en modéré quand l'autre donne 2 ou 3h en difficile ... donc ??
Merci de vos précisions ;o)