Giriş
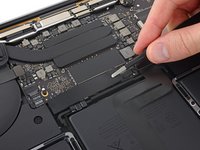
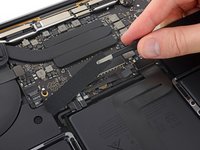
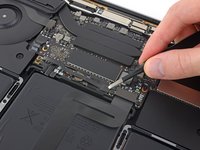
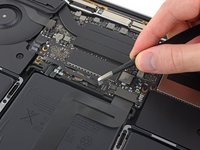
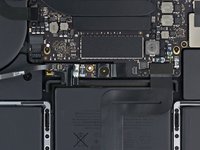
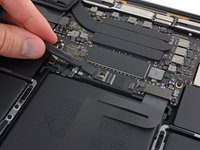
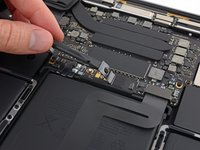
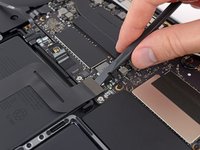
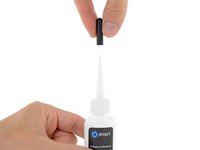
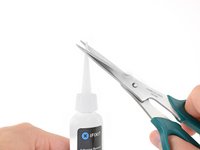
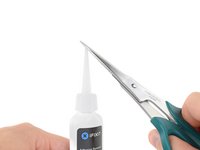
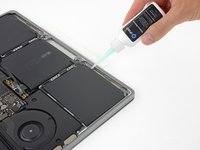
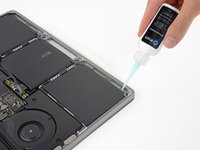
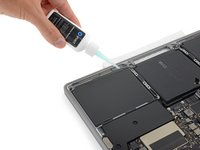
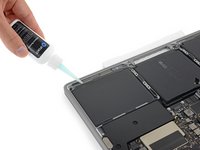
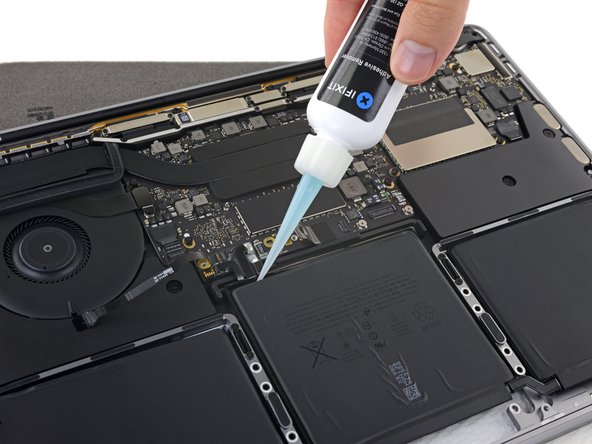
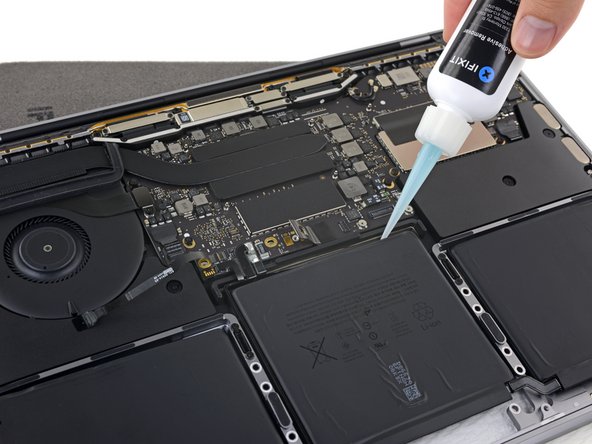
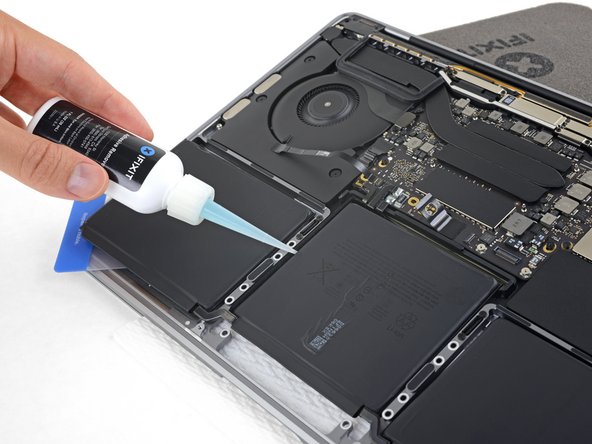
Use this guide to safely remove the glued-in battery from your MacBook Pro with the help of an iFixit kit with adhesive remover. The adhesive remover will dissolve the adhesive securing the battery, allowing you to remove it with ease.
iFixit adhesive remover is flammable. Perform this procedure in a well-ventilated area. Do not smoke or work near an open flame during this procedure.
To minimize risk of damage, turn on your MacBook and allow the battery to fully discharge before starting this procedure. A charged lithium-ion battery can create a dangerous and uncontrollable fire if accidentally punctured. If your battery is swollen, take extra precautions.
Note: The solvent used to dissolve the battery adhesive can damage certain plastics. Follow all instructions and take care where you apply the adhesive remover.
Neye ihtiyacın var
-
-
Power on your Mac and launch Terminal.
-
Copy and paste the following command (or type it exactly) into Terminal:
-
sudo nvram AutoBoot=%00
-
Press [return]. If prompted, enter your administrator password and press [return] again. Note: Your return key may also be labeled ⏎ or "enter."
-
sudo nvram AutoBoot=%03
-
-
Bu adımda kullanılan alet:Magnetic Project Mat$19.95
-
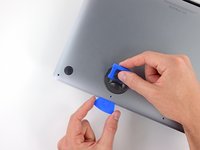
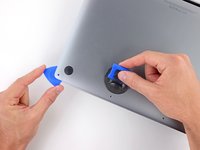
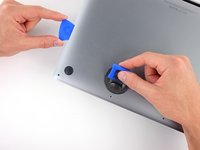
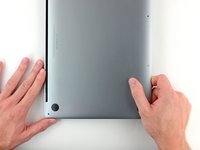
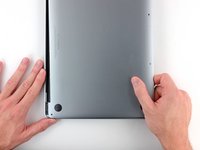
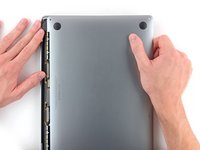
Use a P5 Pentalobe driver to remove the six screws securing the lower case:
-
Two 6.2 mm screws
-
Two 5.3 mm screws
-
Two 3.4 mm screws
-
-
-
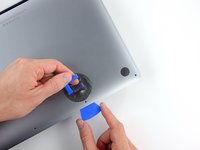
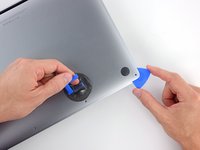
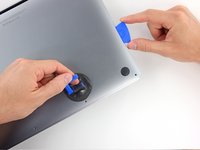
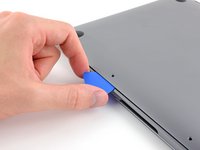
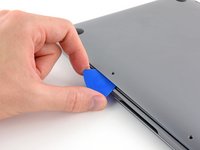
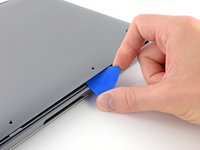
Insert your opening pick once again under the front edge of the lower case, near one of the two centermost screw holes.
-
Give the pick a firm twist to pop free the third clip securing the lower case to the chassis.
-
Repeat this procedure near the other of the two centermost screw holes, popping the fourth clip free.
-
-
-
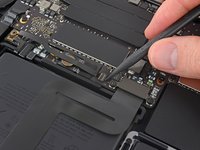
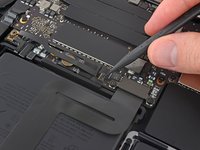
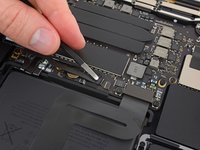
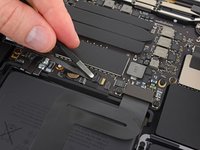
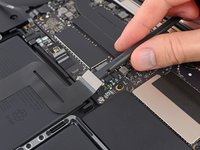
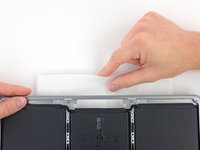
Carefully peel up the large piece of tape covering the battery connector, on the edge of the logic board nearest the battery.
-
Remove the tape.
-
-
-
-
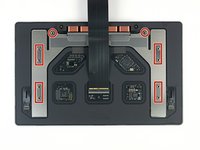
Use a T5 Torx driver to remove the two 2.1 mm screws securing the trackpad cable connector bracket.
-
-
-
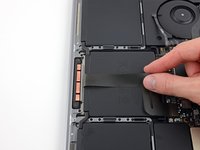
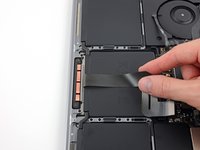
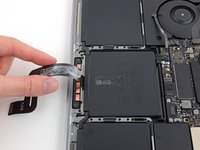
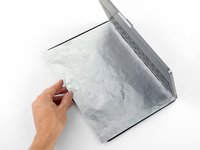
Prepare an iOpener and lay it on top of the trackpad ribbon cable for about a minute, in order to soften the adhesive securing the trackpad ribbon cable to the top of the battery.
-
If you don't have an iOpener, use a hair dryer to warm up the cable instead. The cable should be warm, but not too hot to touch. Be careful not to overheat the battery.
-
-
Bu adımda kullanılan alet:Tweezers$4.99
-
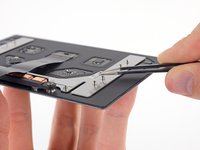
Use a T5 Torx driver to remove the two 3.1 mm screws securing the battery board.
-
-
-
Now that your MacBook Pro is fully prepped, it's time to prep yourself.
-
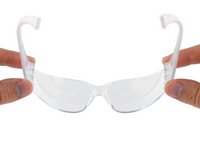
Wear eye protection when handling and applying the adhesive remover. (Eye protection is included in your kit.)
-
Do not wear contact lenses without eye protection.
-
Protective gloves are also included in your kit. If you are concerned about possible skin irritation, put your gloves on now.
-
-
Bu adımda kullanılan alet:Plastic Cards$2.99
-
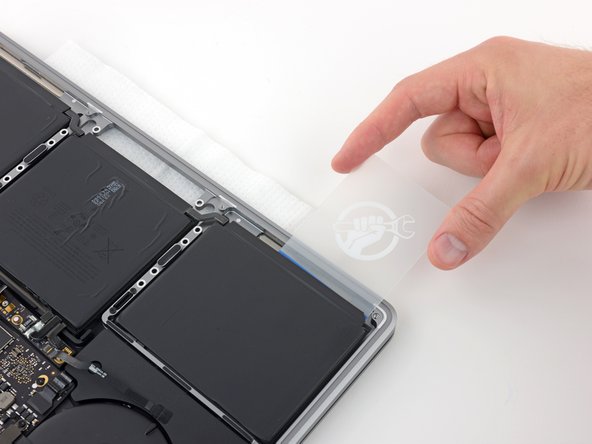
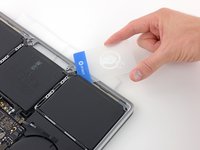
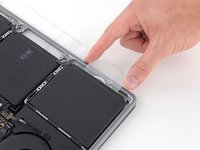
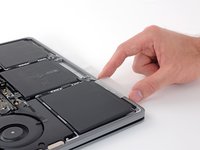
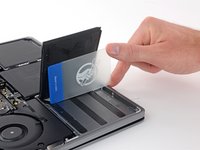
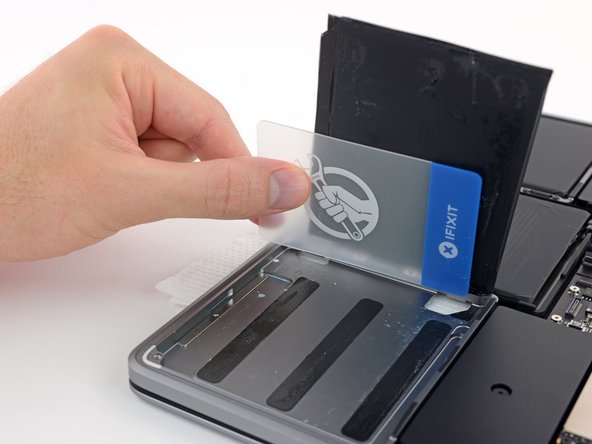
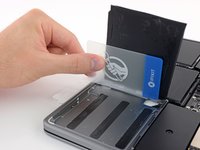
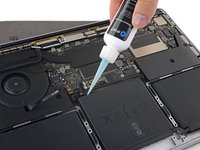
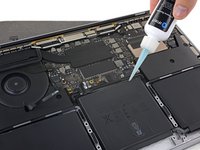
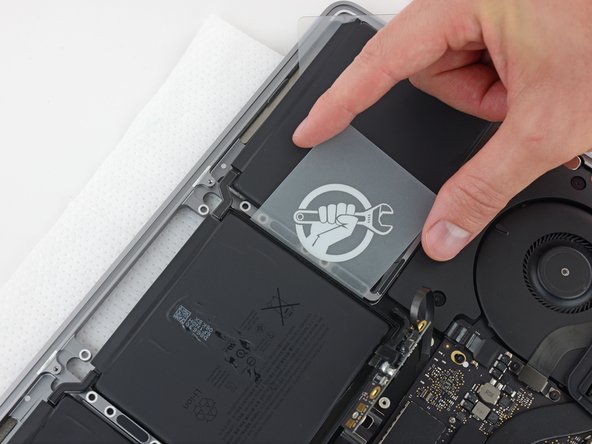
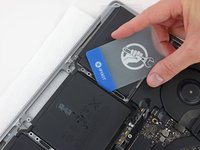
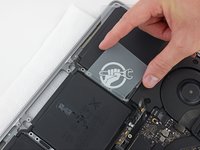
After 2-3 minutes have passed, slide a plastic card under the edge of the battery cell where you applied the adhesive remover.
-
-
-
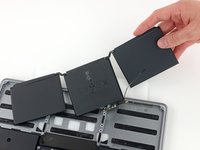
Lift and remove the battery.
-
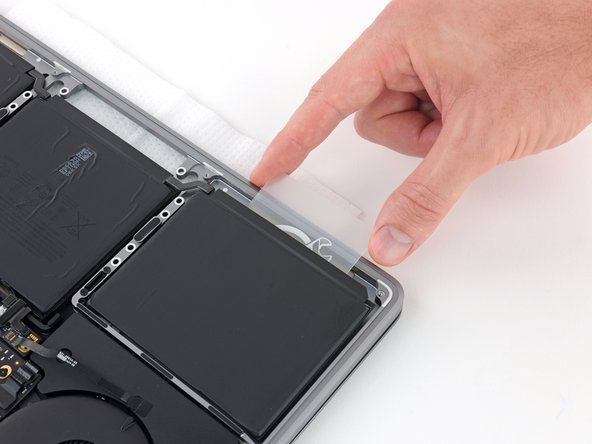
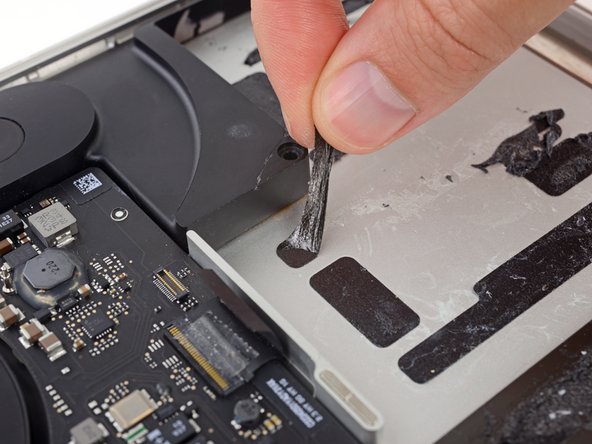
With a little luck, you can slowly pull out each strip of adhesive with your fingers.
-
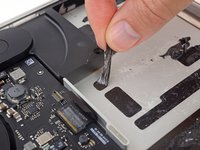
Otherwise, soak each strip of adhesive with a bit of adhesive remover for 2-3 minutes, and then scrape it out with a plastic tool. This can take quite a bit of work, so be patient.
-
Mop up any remaining adhesive remover and give your MacBook Pro a few minutes to air dry.
-
Calibrate your newly installed battery: charge it to 100%, and keep charging it for at least 2 more hours. Unplug and use it normally to drain the battery. When you see the low battery warning, save your work, and keep your laptop on until it goes to sleep due to low battery. Wait at least 5 hours, then charge your laptop uninterrupted to 100%.
-
Compare your new replacement part to the original part—you may need to transfer remaining components or remove adhesive backings from the new part before installing.
To reassemble your device, follow the above steps in reverse order.
For optimal performance, calibrate your newly installed battery: Charge it to 100% and keep charging it for at least 2 more hours. Then use your device until it shuts off due to low battery. Finally, charge it uninterrupted back to 100%.
Take your e-waste to an R2 or e-Stewards certified recycler.
Repair didn’t go as planned? Check out our Answers community for troubleshooting help.
İptal et: Bu kılavuzu tamamlamadım.
200 farklı kişi bu kılavuzu tamamladı.
39Kılavuz Yorumları
Cela peut paraitre impressionnant mais si vous suivez à la lettre ce guide de démontage / remontage, vous y arriverez ! Patience et motivation seront déterminantes !
Make sure when removing the battery with the adhesive and card that the card goes about 2-2.5 cm into the battery (underneath) because there is a cut out in the metal preventing you from pushing underneath the battery thinking it is very strong adhesive when it is not. Also when lining up the battery connector make sure that is lined up and able to fit before making the adhesive stick. One last tip is to make sure the trackpad is aligned before completely screwing in.
All valid great tips
This tip about the cutout in the metal under the battery is very true for the two batteries on the side. Luckily, under the side batteries, the metal is smooth under the corner close to the middle, so I recommend starting with the card there and getting the card far enough under the battery to get past those cutouts before moving it to the side.
Hi,
ich habe den Akku nach dieser Anleitung getauscht, jedoch wird der Akku nicht erkannt…kann mir jemand helfen?


