Giriş
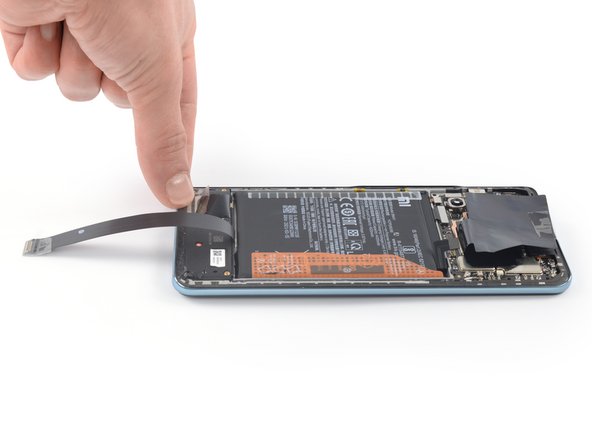
Use this guide to replace a worn-out or dead battery in your Xiaomi Poco F3.
If your battery is swollen, take appropriate precautions.
For your safety, discharge the battery below 25% before disassembling your phone. This reduces the risk of fire if the battery is accidentally damaged during the repair.
You'll need replacement adhesive in order to complete this repair.
Neye ihtiyacın var
-
-
Prepare an iOpener and apply it to the rear glass for at least two minutes to loosen the adhesive underneath.
-
-
-
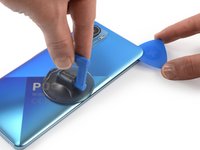
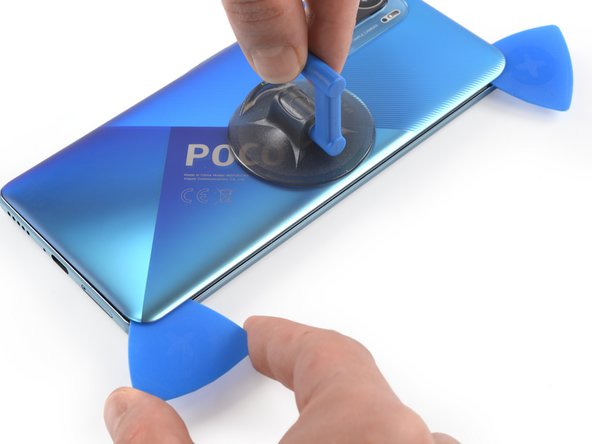
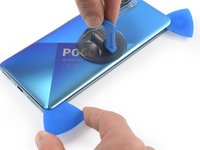
Secure a suction handle to the right edge of the rear glass, as close to the edge as possible.
-
Lift the rear glass with the suction handle to create a small gap between the rear glass and the frame.
-
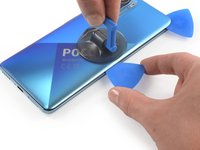
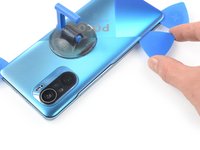
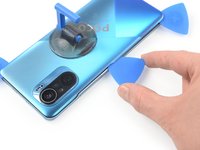
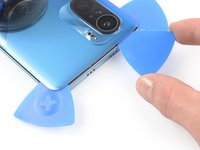
Insert an opening pick into the gap you created.
-
-
-
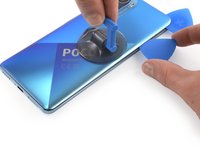
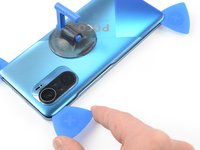
Slide the opening pick to the top right corner to slice the adhesive.
-
Leave the opening pick in place to prevent the adhesive from resealing.
-
-
-
-
Use a Phillips screwdriver to remove the eleven screws securing the motherboard cover:
-
Ten 3.4 mm-long screws
-
One 1.5 mm-long screw
-
-
-
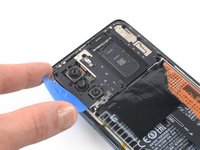
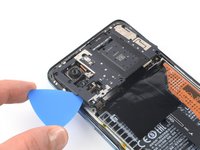
Insert the tip of an opening pick under the bottom left edge of the motherboard cover.
-
Use the opening pick to lift up the motherboard cover and release the plastic clips that hold the cover in its place.
-
-
-
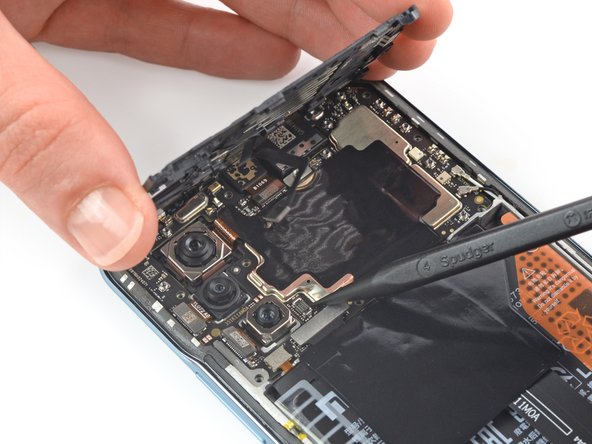
Use your fingers to lift up the motherboard cover to access the connector on the motherboard.
-
Use a spudger to disconnect the motherboard cover by prying the connector straight up from its socket at the motherboard.
-
Remove the motherboard cover.
-
-
-
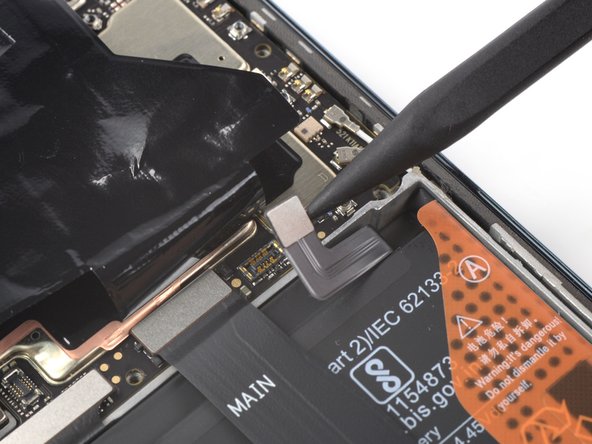
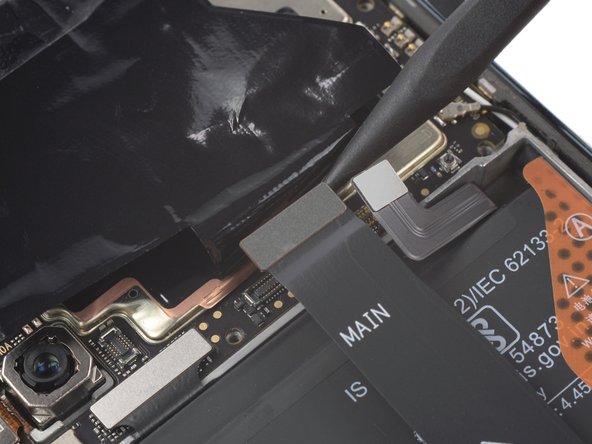
Use a spudger to disconnect the battery by prying the connector straight up from its socket.
-
-
-
Use a spudger to pry the interconnect cable straight up from its socket on the motherboard.
-
-
-
Reposition the interconnect cable toward the bottom of the phone and out of the way of the battery.
-
Reposition the graphite foil toward the bottom of the phone, which is covering the bottom left corner of the battery.
-
-
-
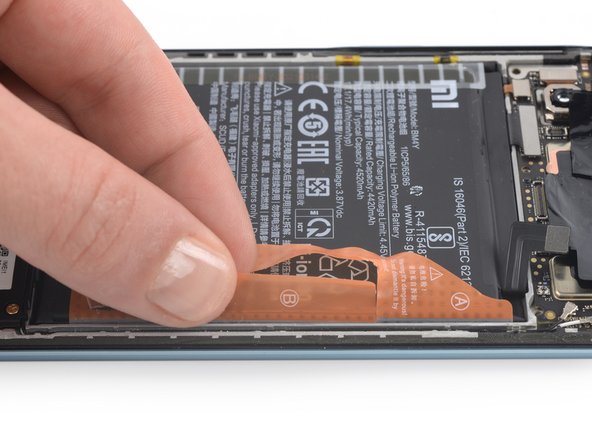
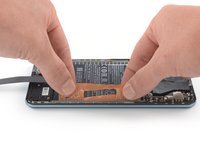
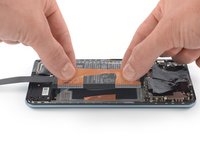
Use your fingers to peel the two orange stickers labeled A and B off the battery.
-
-
-
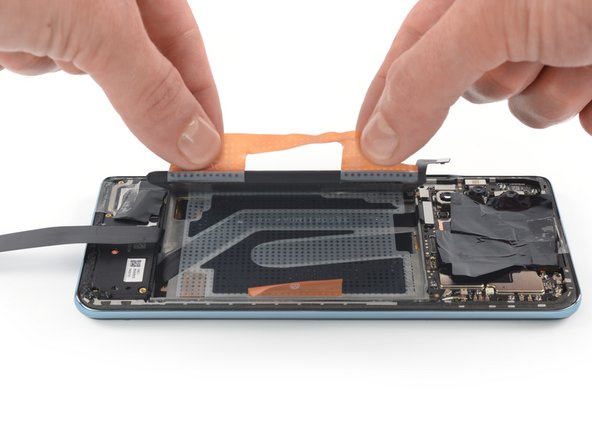
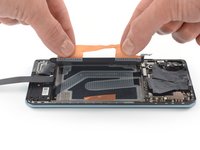
Grab both ends of the orange sticker labeled with the letter A.
-
Pull both ends of the orange sticker straight up to lift the battery out of its recess.
-
If possible, turn on your device and test your repair before installing new adhesive and resealing.
To reassemble your device, follow these instructions in reverse order. During reassembly apply new adhesive where necessary after cleaning the relevant areas with isopropyl alcohol (>90%).
For optimal performance, calibrate your newly installed battery after completing this guide.
Take your e-waste to an R2 or e-Stewards certified recycler.
Repair didn’t go as planned? Try some basic troubleshooting, or ask our Answers community for help.
İptal et: Bu kılavuzu tamamlamadım.
28 farklı kişi bu kılavuzu tamamladı.
4Kılavuz Yorumları
nice perfectly thanks
Thank you very much, excellent documentation.
Thank you very much. using only these Instructions I was able to get it done in 45 minutes.


