Giriş
Use this guide to bring life back to your iPhone 6s with a new battery. If your battery is swollen, take appropriate precautions.
This guide instructs you to detach the front panel assembly; this is intended to prevent damage to the display cables. If you feel comfortable supporting the display carefully while peeling the battery out of the iPhone, you can skip the display removal and go directly to the battery removal steps.
For optimal performance, after completing this guide, calibrate your newly installed battery: Charge it to 100% and keep charging it for at least two more hours. Then use your iPhone until it shuts off due to low battery. Finally, charge it uninterrupted to 100%.
You can also use this guide to replace the battery connector bracket.
Neye ihtiyacın var
-
-
Remove the two 3.4 mm P2 Pentalobe screws on the bottom edge of the iPhone, on either side of the Lightning connector.
-
-
Bu adımda kullanılan alet:Clampy - Anti-Clamp$24.95
-
Pull the blue handle backwards to unlock the Anti-Clamp's arms.
-
Slide the arms over either the left or right edge of your iPhone.
-
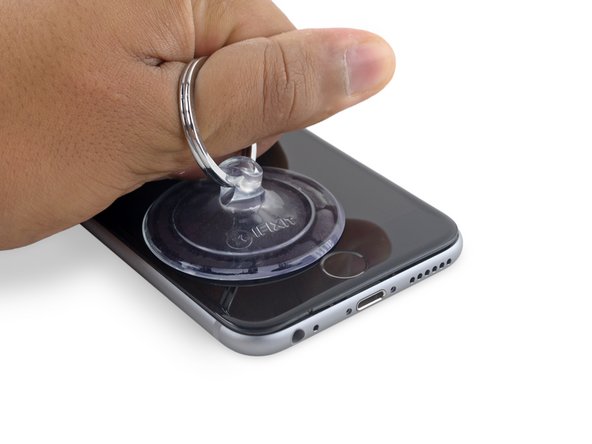
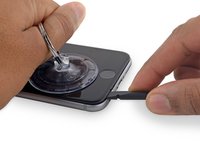
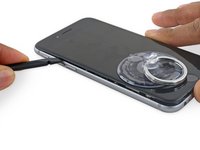
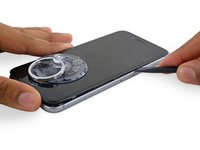
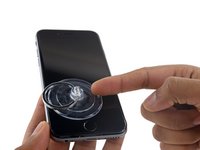
Position the suction cups near the bottom edge of the iPhone just above the home button—one on the front, and one on the back.
-
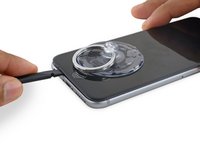
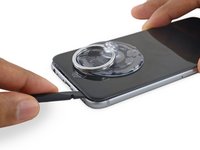
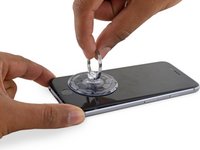
Squeeze the cups together to apply suction to the desired area.
-
-
Bu adımda kullanılan alet:Clampy - Anti-Clamp$24.95
-
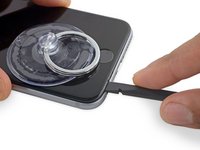
Apply mild heat to the lower edge of the iPhone using an iOpener or hair dryer for about a minute.
-
-
-
-
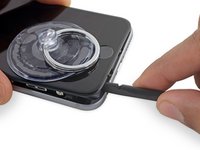
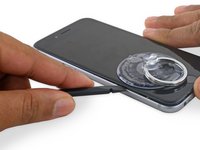
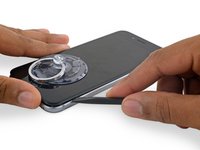
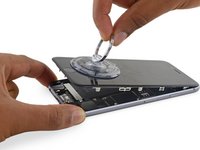
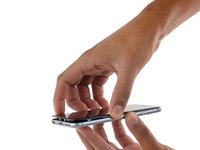
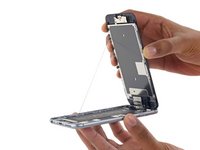
Gently grasp the display assembly and lift it up to open the phone, using the clips at the top of the front panel as a hinge.
-
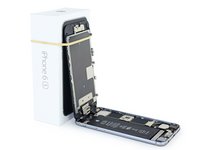
Open the display to about a 90º angle, and lean it against something to keep it propped up while you're working on the phone.
-
Add a rubber band to keep the display securely in place while you work. This prevents undue strain on the display cables.
-
During reassembly, pause here if you wish to replace the adhesive around the edges of the display.
-
During reassembly, the camera end of the screen body needs to hook under the edge of the body. The hooks of the screen frame need to be under the rim of the main body and snugged toward the camera end to easily close the cover and have it properly clip.
-
These hooks are not really a proper hinge but clasps that need to be under the rim of the main phone frame/edge!! This way the screen easily will return to its closed state nicely gently snapping into place.
-
During reassembly, reverse order for getting the screen clipped back in means pressing along the right side top to bottom corner. Then the left.
-
-
Bu adımda kullanılan alet:Magnetic Project Mat$19.95
-
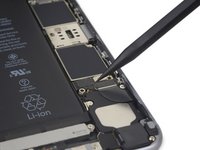
Remove two Phillips screws securing the battery connector bracket, of the following lengths:
-
One 2.9 mm screw
-
One 2.2 mm screw
-
-
-
Remove the following four Phillips screws securing the display cable bracket:
-
Three 1.2 mm screws
-
One 2.8 mm screw
-
-
Bu adımda kullanılan alet:Tweezers$4.99
-
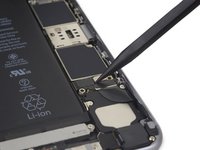
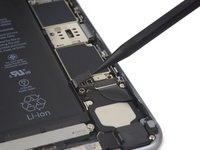
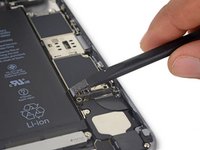
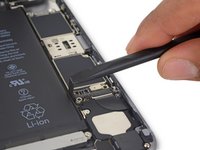
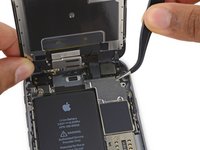
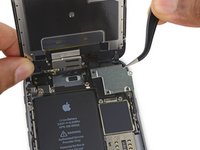
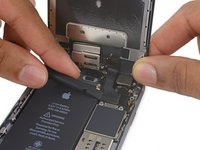
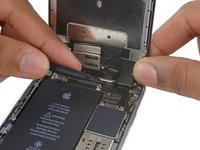
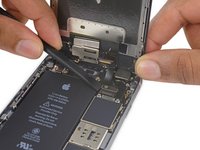
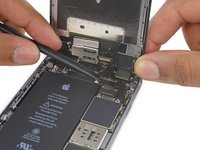
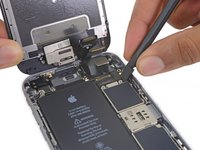
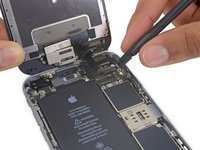
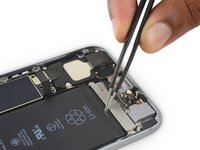
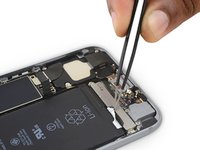
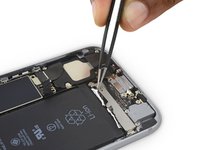
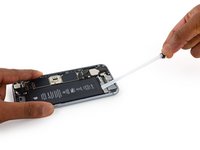
Use tweezers to peel back the tips of the two adhesive strips along the bottom edge of the battery.
-
-
-
If you successfully removed both adhesive strips, move on to the next step. Otherwise, you will need to pry the battery from the rear case.
-
Prepare an iOpener and apply it to the back of the rear case, directly over the battery. Otherwise, you can apply heat using a heat gun or hair dryer.
-
Then, use a plastic opening tool to gently lift the battery.
-
Thread the floss or string behind the upper battery corners, bring the ends together, wrap them around a folded cloth, and pull evenly.
-
-
-
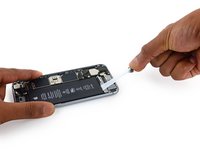
Remove the battery.
-
Adhere the battery, disconnect it, and continue reassembling your device.
-
To reassemble your device, follow the above steps in reverse order.
Take your e-waste to an R2 or e-Stewards certified recycler.
For optimal performance, after completing this guide, calibrate your newly installed battery: Charge it to 100% and keep charging it for at least two more hours. Then use your iPhone until it shuts off due to low battery. Finally, charge it uninterrupted to 100%.
Repair didn’t go as planned? Check out our Answers community for troubleshooting help.
İptal et: Bu kılavuzu tamamlamadım.
2075 farklı kişi bu kılavuzu tamamladı.
240Kılavuz Yorumları
Easy fix. I would recommend getting the adhesive for the screen, as I completely destroyed about half of it when I removed the screen.
the adhesive strip under the battery do not use your hand to pull out, use tweezer and a stick roll it up slowly.......
That's a good idea! But on the other hand it looks a bit funny expanding it to about 1 meter ;-) - especially nice, if the owner is there watching …
I found that instead of trying to pull the adhesive strips straight out, that by shifting the strip side to side as I pulled allowed it to “inch out” and break the bond more on a diagonal and snap out in one piece….


