Giriş
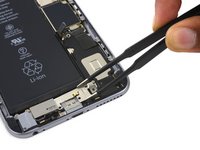
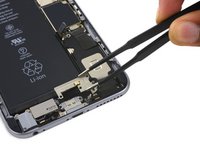
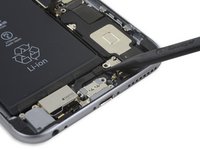
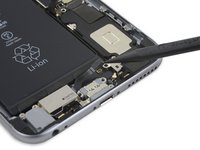
Use this guide to bring life back to your iPhone 6s Plus with a new battery. If your battery is swollen, take appropriate precautions.
This guide instructs you to detach the front panel assembly; this is intended to prevent damage to the display cables. If you feel comfortable supporting the display carefully while peeling the battery out of the iPhone, you can skip the display removal and go directly to the battery removal steps.
This guide also instructs you to remove the Taptic Engine. This procedure is optional but recommended to assist removing the battery's adhesive.
For optimal performance, after completing this guide, calibrate your newly installed battery: Charge it to 100% and keep charging it for at least two more hours. Then use your iPhone until it shuts off due to low battery. Finally, charge it uninterrupted to 100%.
You can also use this guide to replace the battery connector bracket.
Neye ihtiyacın var
Videoya Genel Bakış
-
-
Power off your iPhone before beginning disassembly.
-
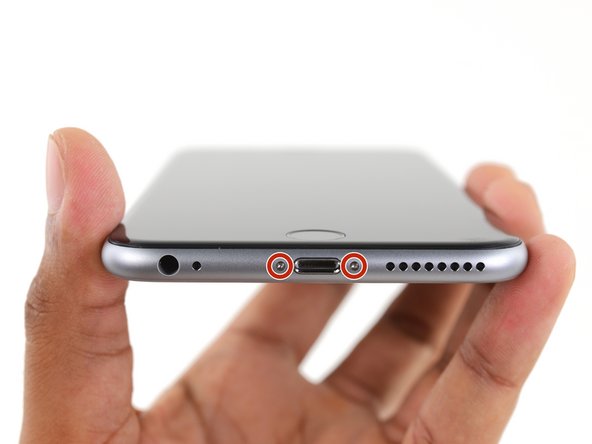
Remove the two 3.4 mm Pentalobe screws on either side of the Lightning port.
-
-
Bu adımda kullanılan alet:Clampy - Anti-Clamp$24.95
-
Pull the blue handle backwards to unlock the Anti-Clamp's arms.
-
Slide the arms over either the left or right edge of your iPhone.
-
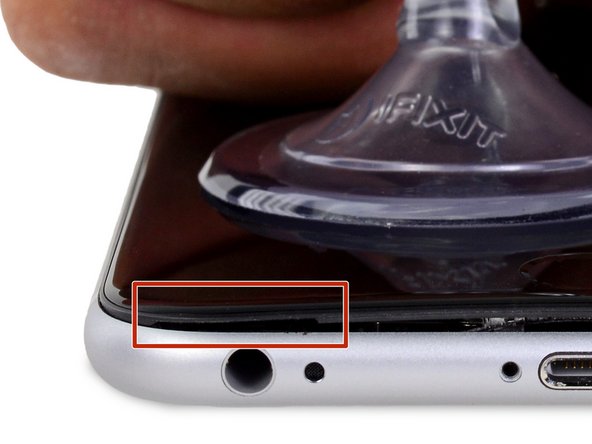
Position the suction cups near the bottom edge of the iPhone just above the home button—one on the front, and one on the back.
-
Squeeze the cups together to apply suction to the desired area.
-
-
Bu adımda kullanılan alet:Clampy - Anti-Clamp$24.95
-
If you don't have an Anti-Clamp, follow the next three steps to use a suction handle.
-
Apply mild heat to the lower edge of the iPhone using an iOpener or hair dryer for about a minute.
-
-
-
-
Gently grasp the display assembly and lift it up to open the phone, using the clips at the top of the front panel as a hinge.
-
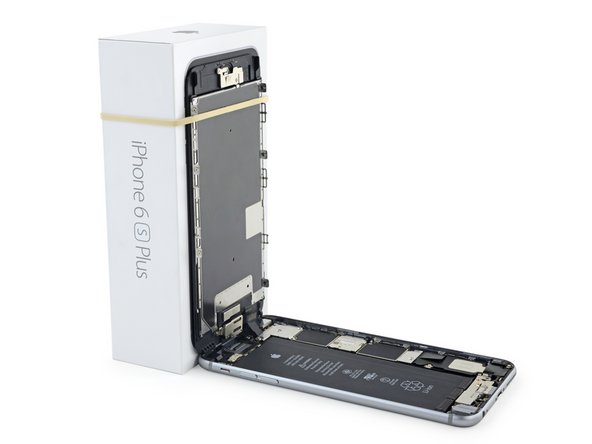
Open the display to about a 90º angle, and lean it against something to keep it propped up while you're working on the phone.
-
Add a rubber band to keep the display securely in place while you work. This prevents undue strain on the display cables.
-
-
Bu adımda kullanılan alet:Magnetic Project Mat$19.95
-
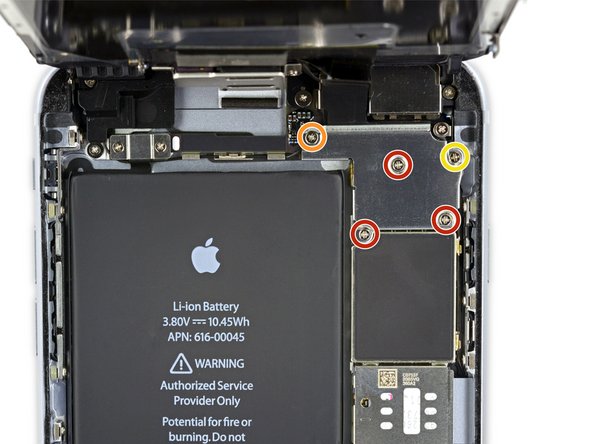
Remove two Phillips screws securing the battery connector bracket to the logic board, of the following lengths:
-
One 2.9 mm screw
-
One 2.3 mm screw
-
-
-
Remove the following Phillips screws:
-
Three 1.3 mm screws
-
One 1.6 mm screw
-
One 3.0 mm screw
-
-
-
Remove the following Phillips screws over the Taptic Engine cable bracket:
-
Two 3.5 mm screws
-
One 2.7 mm screw
-
-
Bu adımda kullanılan alet:Tweezers$4.99
-
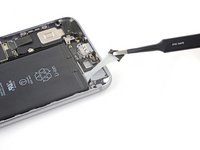
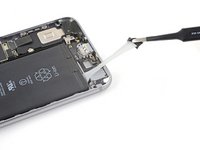
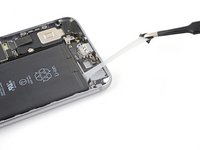
Use tweezers, or your fingers, to peel up the black pull tab on one of the adhesive strips.
-
-
-
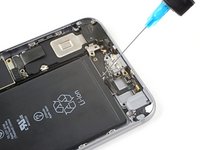
If you're still having trouble removing the battery, apply a few drops of high concentration (90% or higher) isopropyl alcohol under the edge of the battery in the area of the broken adhesive strip(s).
-
Tilt the phone up so the isopropyl alcohol can flow toward the adhesive strip.
-
Hold for 1–2 minutes to allow the isopropyl alcohol to weaken the adhesive.
-
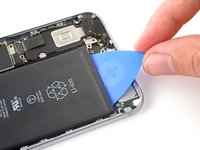
Use an opening pick or the flat end of a spudger to slowly pry up the battery.
-
Compare your new replacement part to the original part—you may need to transfer remaining components or remove adhesive backings from the new part before installing.
To reassemble your device, follow the above steps in reverse order.
Take your e-waste to an R2 or e-Stewards certified recycler.
Repair didn’t go as planned? Check out our Answers community for troubleshooting help.
İptal et: Bu kılavuzu tamamlamadım.
589 farklı kişi bu kılavuzu tamamladı.
97Kılavuz Yorumları
Most common on IPhone 6s/6 repair jobs is this battery replacement. Great tutorial!
so few comments on this one?!
has any/many done this without the adhesive strips.. and was it ok?
If you mean the battery adhesive strips, sure—you can put a piece of double-sided tape down the back of the battery, and it probably won't move anywhere. There's not much room for the battery to move anyway. Use the adhesive strips if you want to do it right—but, if you're in a bind and you just need the phone working, you can skip the strips. And you can always open the phone back up and add the adhesive strips later.
If you mean the adhesive gasket around the display, the answer is pretty much the same—It's better to have it, but it doesn't hurt anything to put the phone back together without it.
Where can one buy the adhesive gasket for the case
